You’re paying $50/month for a CRM, but you only use 3 features: contacts, deals, and maybe email. The other 47 features? You’ve never clicked them.
If this sounds familiar, you’re not alone. Off-the-shelf CRMs like HubSpot and Salesforce are built for enterprise sales teams with 50-person departments and dedicated admins. For freelancers, consultants, and small agencies, they’re overkill - expensive, complex, and frustratingly rigid.
Here’s what most CRM vendors won’t tell you: the features you actually need - a contacts list, a deal pipeline, maybe some basic automation - aren’t complicated. They just want you to think they are.
Building custom software used to cost $50,000 and take months. You’d need a developer, a designer, database expertise, hosting setup, and ongoing maintenance. That’s no longer true. AI app builders have fundamentally changed the equation. Today, you can describe what you want in plain English and have a working application in minutes.
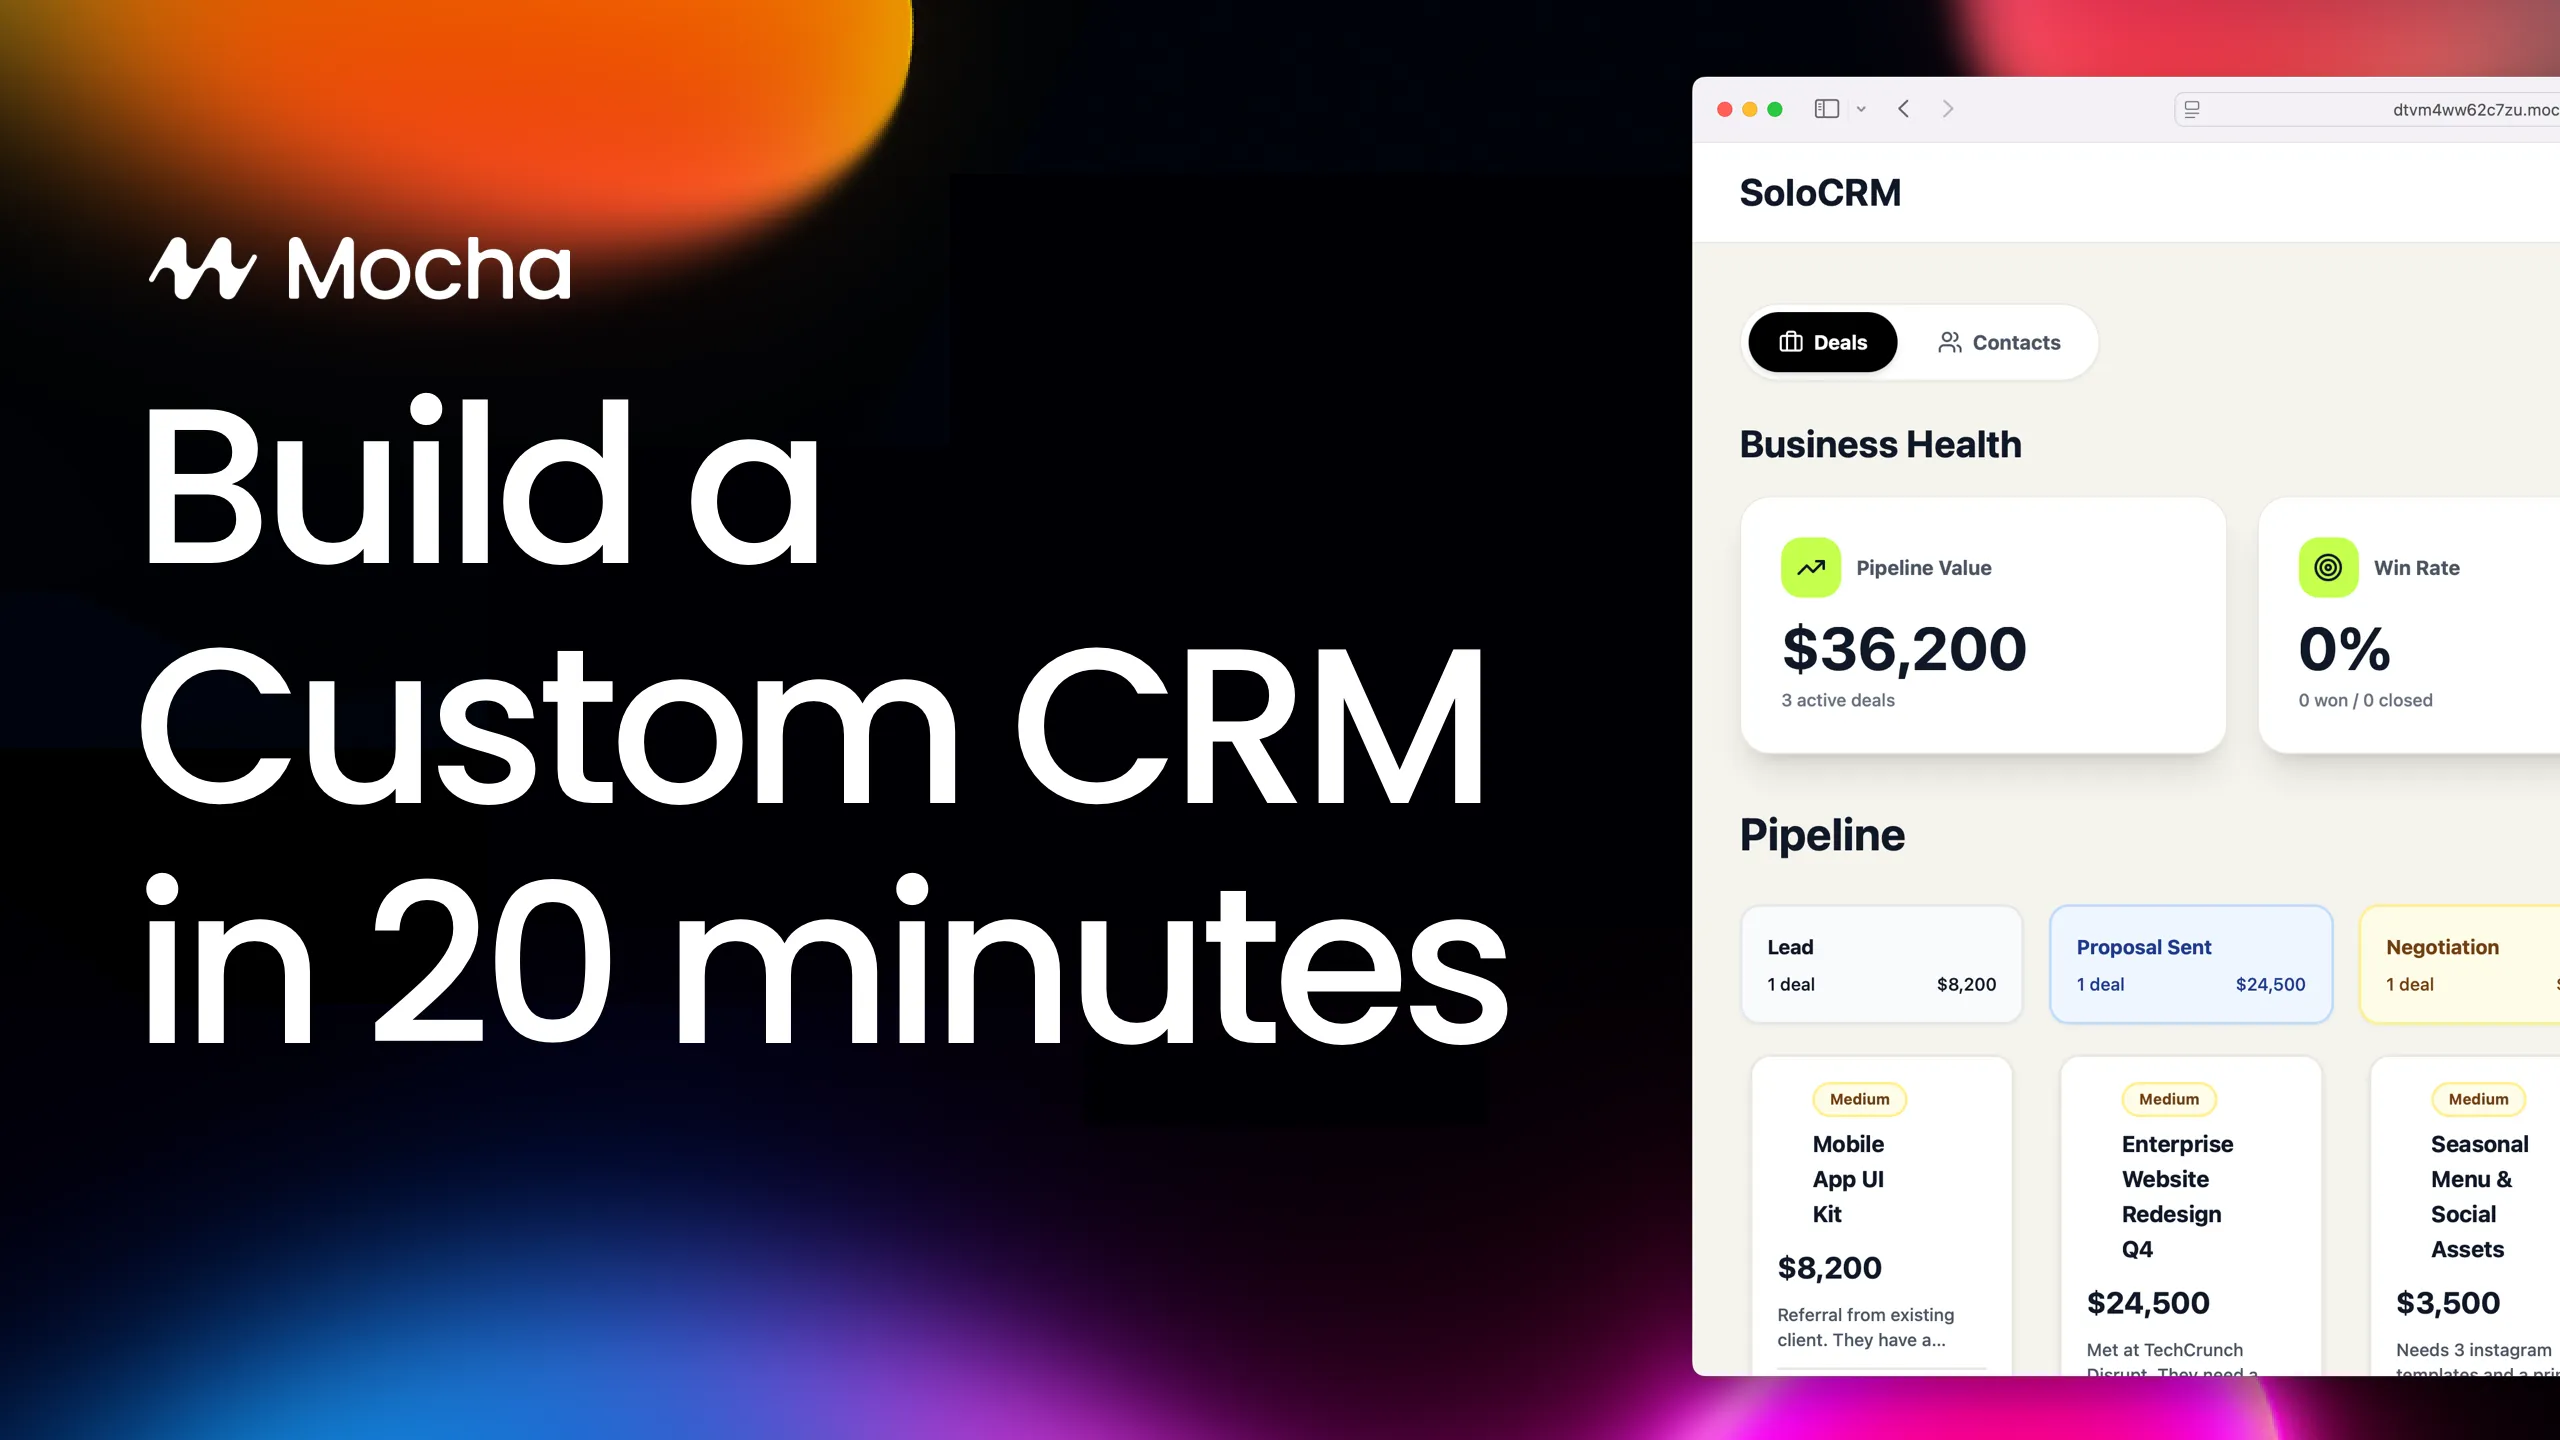
In this tutorial, we’ll build a complete custom CRM from scratch using Mocha.
Not a mockup or a prototype: a real, deployed application with:
- Contact management
- Kanban-style deal pipeline
- Business intelligence dashboard with KPIs
- Google Sign-in authentication
- Google Calendar integration that creates meetings with one drag
- Professional styling
Take a look at this custom CRM demo app built in 20 minutes with Mocha – and with just one click, you can clone and customize it to make it your own.
Is It Better to Build or Buy a CRM?
This is the first question every solopreneur asks, and the answer depends on three factors: your workflow complexity, your budget, and how much you value ownership.
Build a custom CRM if:
- You have specific workflows that standard CRMs can’t handle without expensive upgrades
- You want to eliminate monthly subscription costs
- You value data ownership and portability
- Your needs are relatively simple
- You have a small team (under 10 users)
- You’re fighting HubSpot or Pipedrive more than using it
Buy an off-the-shelf CRM if:
- You need enterprise features immediately
- You have 20+ users who need formal onboarding and training
- You require vendor support contracts and SLAs
- You genuinely need the advanced features you’re paying for
The calculation has shifted dramatically. With AI app builders like Mocha, building a custom CRM now takes 20-30 minutes instead of 3-6 months. That makes “build” viable for most small businesses and freelancers who previously had no choice but to pay for bloated SaaS tools.
The Hidden Costs of “Free” CRMs
HubSpot’s free tier sounds appealing until you realize what’s missing. Limited customization, constant upsell prompts, your data living on someone else’s servers. The free plan is designed to get you dependent, then charge you $50-100/month when you hit artificial limits.
More importantly, there’s the time cost. Learning a complex tool is an investment. If you spend 10 hours learning HubSpot but only use 10% of its features, that’s time you could have spent building something perfectly tailored to how you actually work.
How to Design a CRM That Fits Your Workflow
Before opening any tool, spend 10 minutes planning. AI works best when you know what you want. Vague prompts produce vague results.
Step 1: Define Your Pipeline Stages
Your deal pipeline should mirror how you actually close business. Don’t copy HubSpot’s default stages - think about your real process:
| Role | Step 1 | Step 2 | Step 3 | Step 4 | Outcome |
|---|---|---|---|---|---|
| Freelance consultants | Lead | Proposal Sent | Negotiation | - | Won / Lost |
| Agencies | Inquiry | Discovery Call | Proposal | Contract Review | Signed / Lost |
| Recruiters | Applied | Phone Screen | Interview | Offer | Hired / Rejected |
Keep it simple: 4-5 stages maximum. You can always add more later.
Step 2: Identify Your Data Fields
What information do you actually need to track? Start minimal.
Contacts:
- Name, Email, Company
- Last Contacted Date (helps you spot neglected relationships)
Deals:
- Title (what you are selling)
- Value (how much the deal is worth)
- Stage (where it sits in your pipeline)
- Linked Contact (who you’re selling to)
- Priority (optional but useful for focus)
Step 3: Decide Your Must-Have Features
Quick checklist to prioritize:
- Authentication / User-scoped data (do multiple people need access?)
- Dashboard metrics (pipeline value, win rate?)
- Calendar integration (scheduling meetings from the CRM?)
- Email integration (logging conversations?)
- Mobile access (working from your phone?)
Write down your answers before you start building. It’ll make your prompts clearer and your results better.
Step-by-Step Tutorial: Building Your CRM with Mocha
Let’s build! Each step below includes the exact prompt to use.
Step 1: The Foundation Prompt
This single prompt creates your entire database schema, user interface, and basic structure. What would take a traditional developer days to set up takes Mocha about 30 seconds.
• A contacts list with name, email, company, and last contacted date
• A Kanban board for deals with stages: Lead, Proposal Sent, Negotiation, Won, Lost
• Each deal should have a title, value, notes and linked contact
• Forms to add new contacts and deals
• User authentication with Google Sign-in
Keep the design minimal and clean.
Copy and paste this prompt into your Mocha app.
It will generate the base for your custom CRM application.
You’ll see:
- A contacts table with all your fields
- A Kanban board with draggable deal cards
- Forms to add new data
- A clean login screen with Google Sign-in
You can already click “Publish” to deploy your application. You just have to wait for a few seconds, and Mocha will provide you with a URL for your app that you can already use.
This is your skeleton. It works, but it’s basic. Now let’s add muscle.
At this point, add a few sample contacts and deals to populate your CRM - this will help demonstrate the dashboard metrics in the next step.
Step 2: Business Intelligence Dashboard
Most no-code builders require plugins or custom formulas to do math. Mocha understands your data schema and calculates derived metrics automatically.
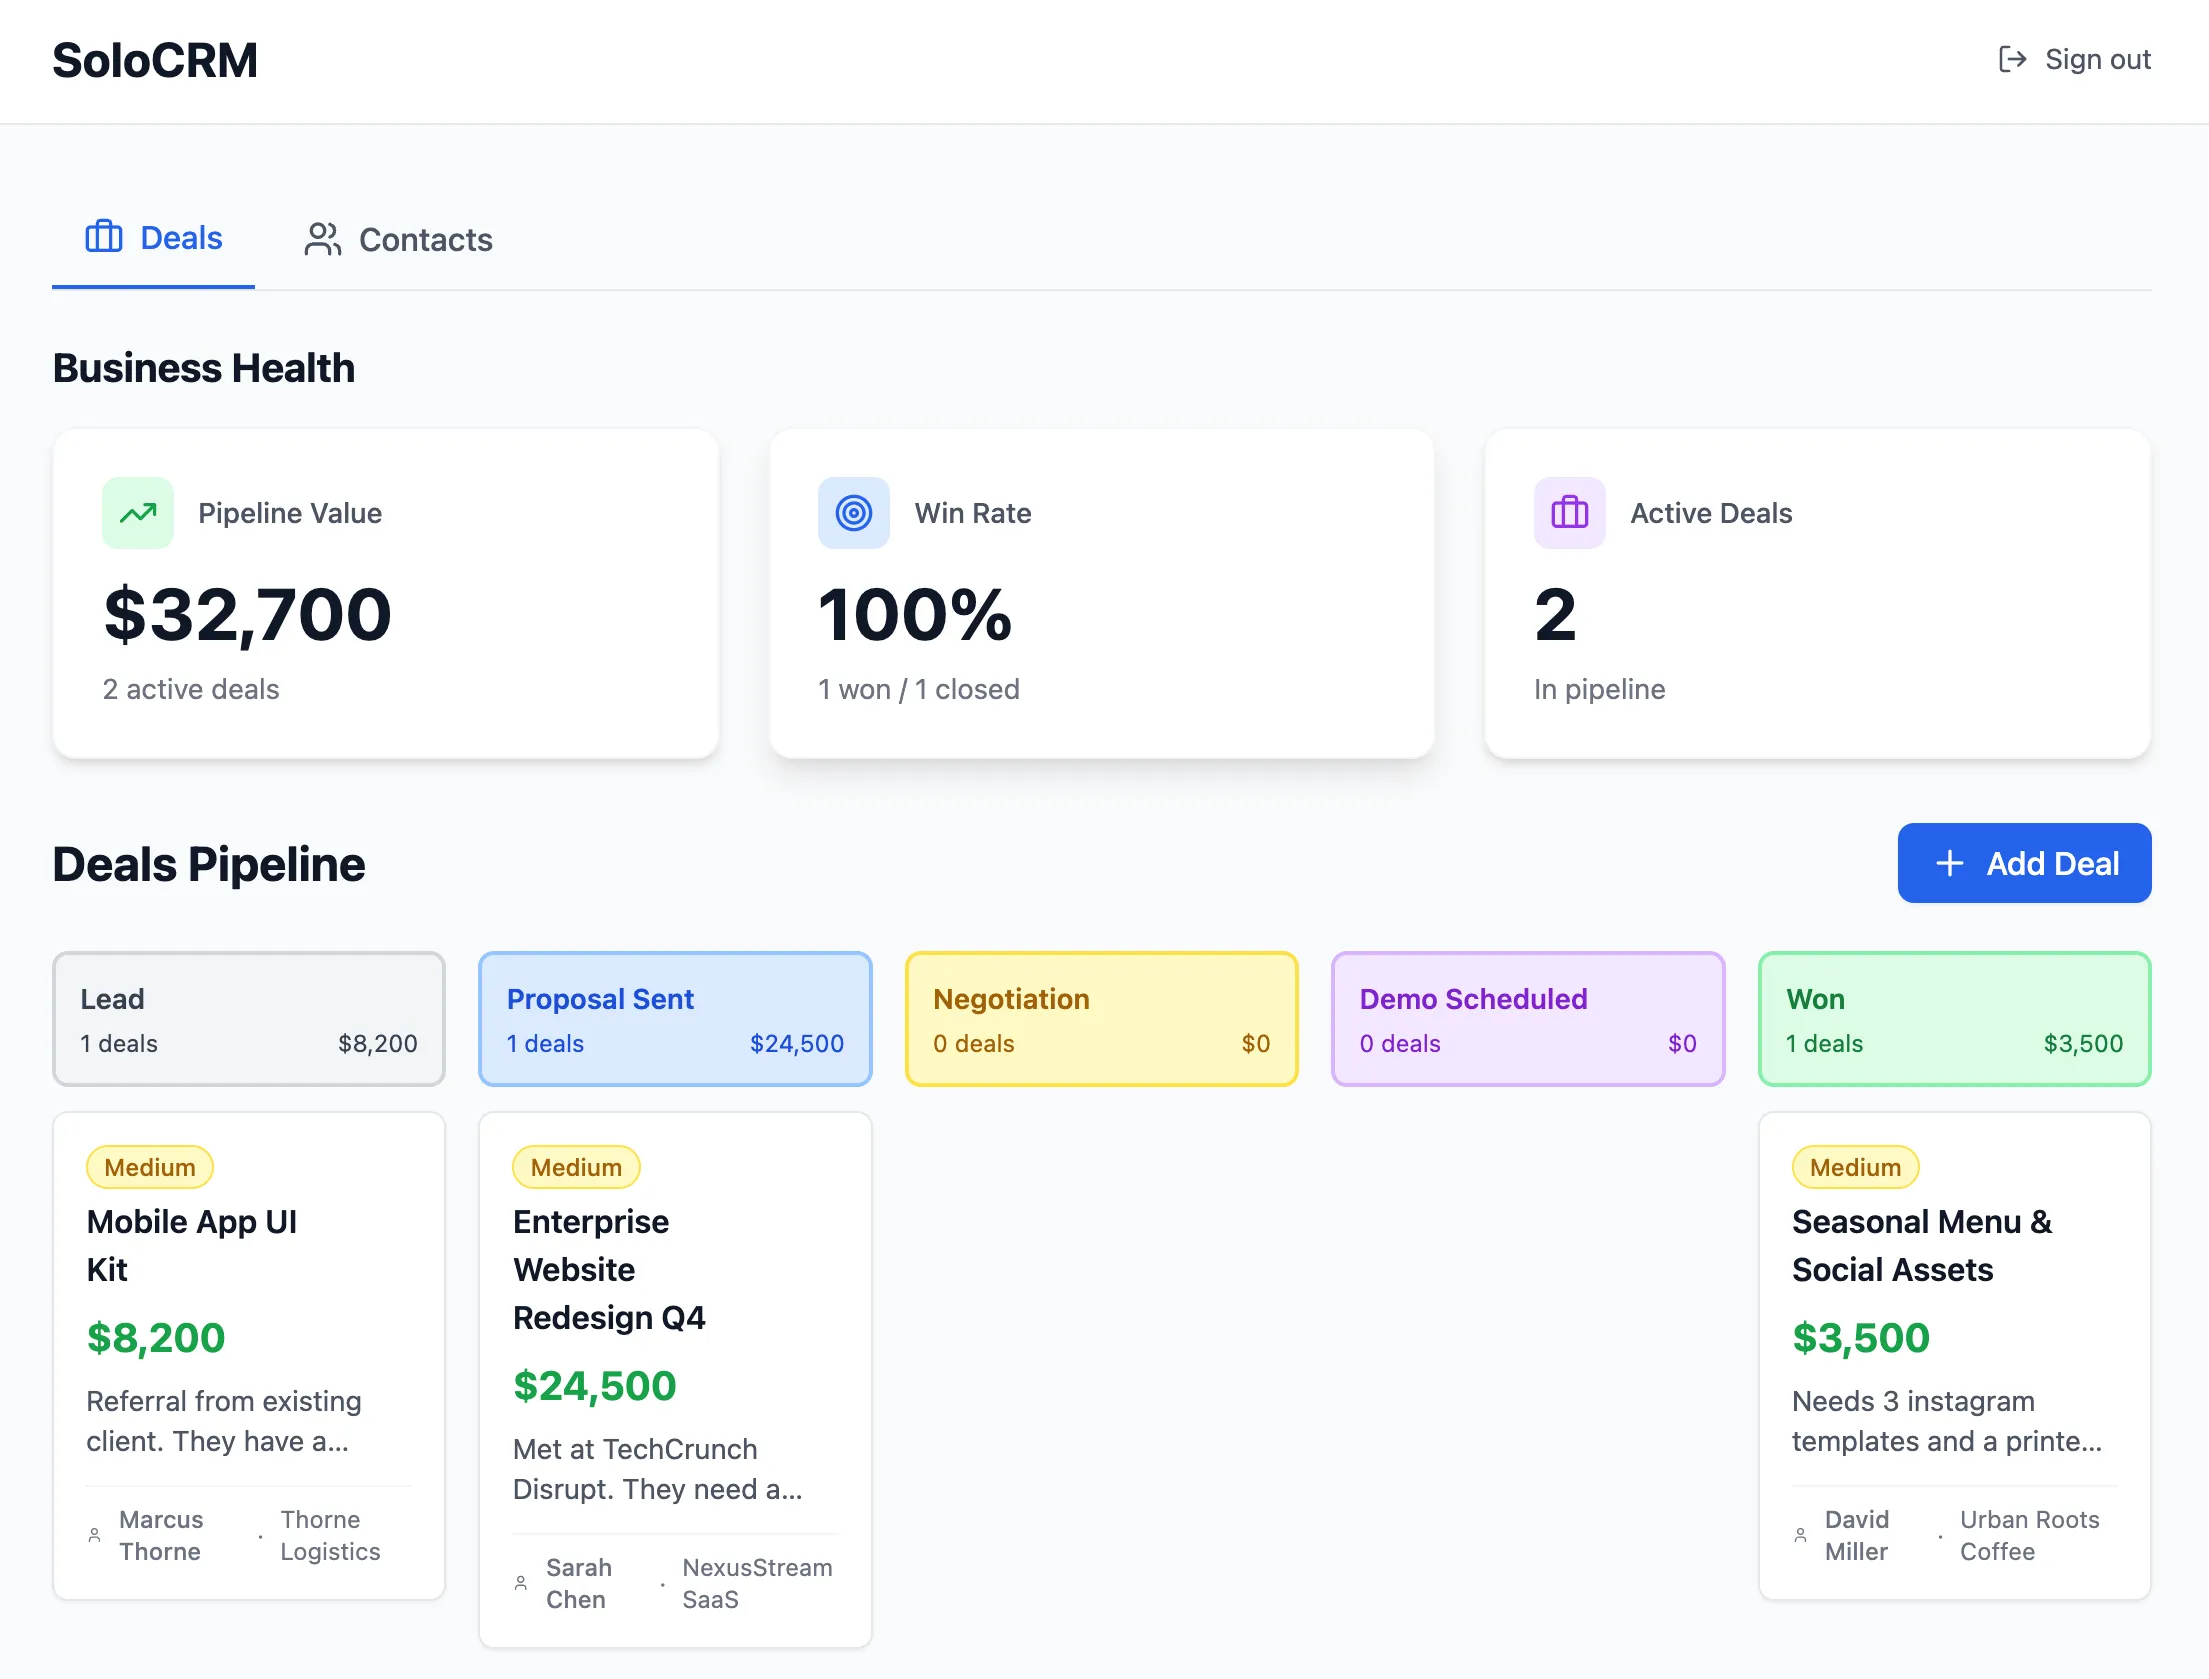
It should show 3 metrics derived from my database: • Pipeline Value: The sum of the 'Value' of all active deals (not Won or Lost). Format as currency (e.g., $12,500). • Win Rate: The percentage of deals in 'Won' stage vs total closed deals (Won + Lost). • Active Deals: A count of deals not in 'Won' or 'Lost'.
Make these look like professional KPI cards with a slight drop shadow and large, bold numbers.
You’ll now see real-time KPIs that update as you move deals through your pipeline.
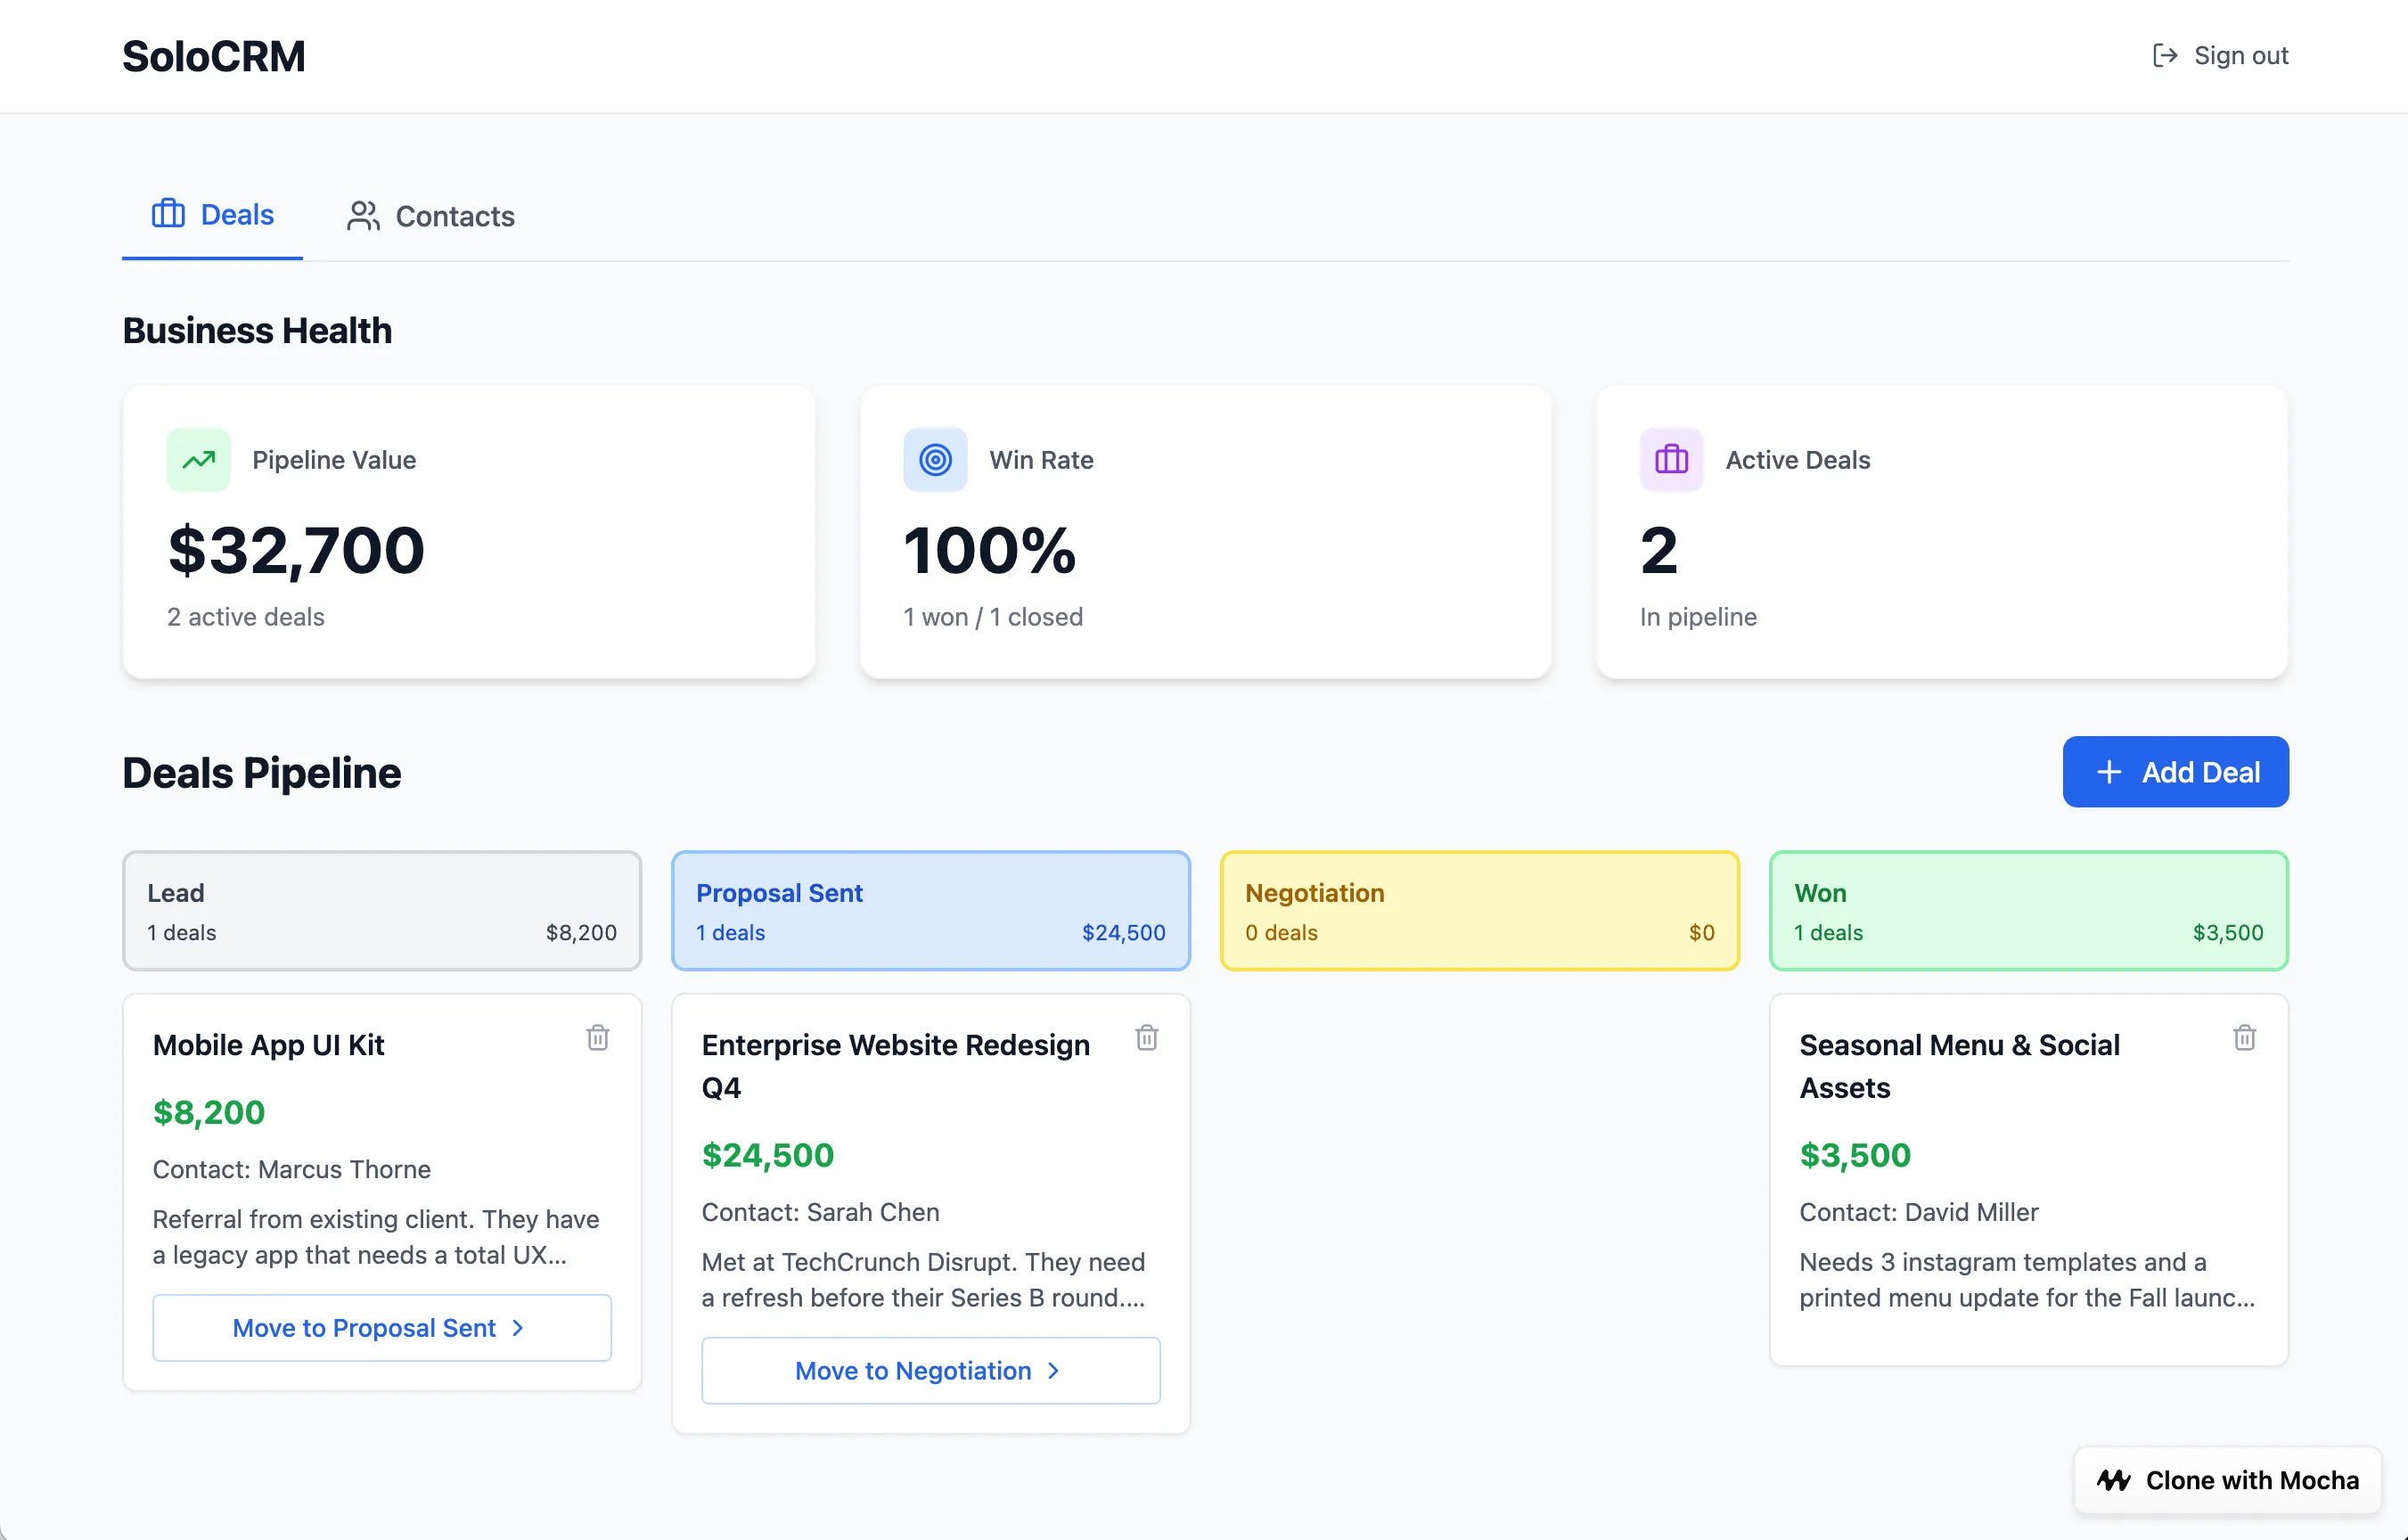
In our demo, with 3 deals worth $36,200 total (one already won), this shows:
- Pipeline Value: $32,700
- Win Rate: 33.3%
- Active Deals: 2
Step 3: Rich Deal Cards with Context
Here’s where Mocha’s understanding of data relationships shines. We’re not just placing text boxes - the deal card pulls information from the linked Contact record automatically.
1. Priority Tags: Add a 'Priority' dropdown to the Deal form (High, Medium, Low). On the card, display this as a small colored pill: High = Red, Medium = Yellow, Low = Gray.
2. Contact Context: Since every deal is linked to a Contact, display the Contact's name and company at the bottom of the card with a small user icon.
3. Quick Actions: Add a "→" arrow button on each card that moves the deal to the next stage with one click.
4. Lost Reason: When a card is dragged to 'Lost', open a modal asking for: Reason (Dropdown: Lost to Competitor, Budget Cut, Went Silent, Bad Timing, Other) and Notes (optional text field). Save this to the Deal record.
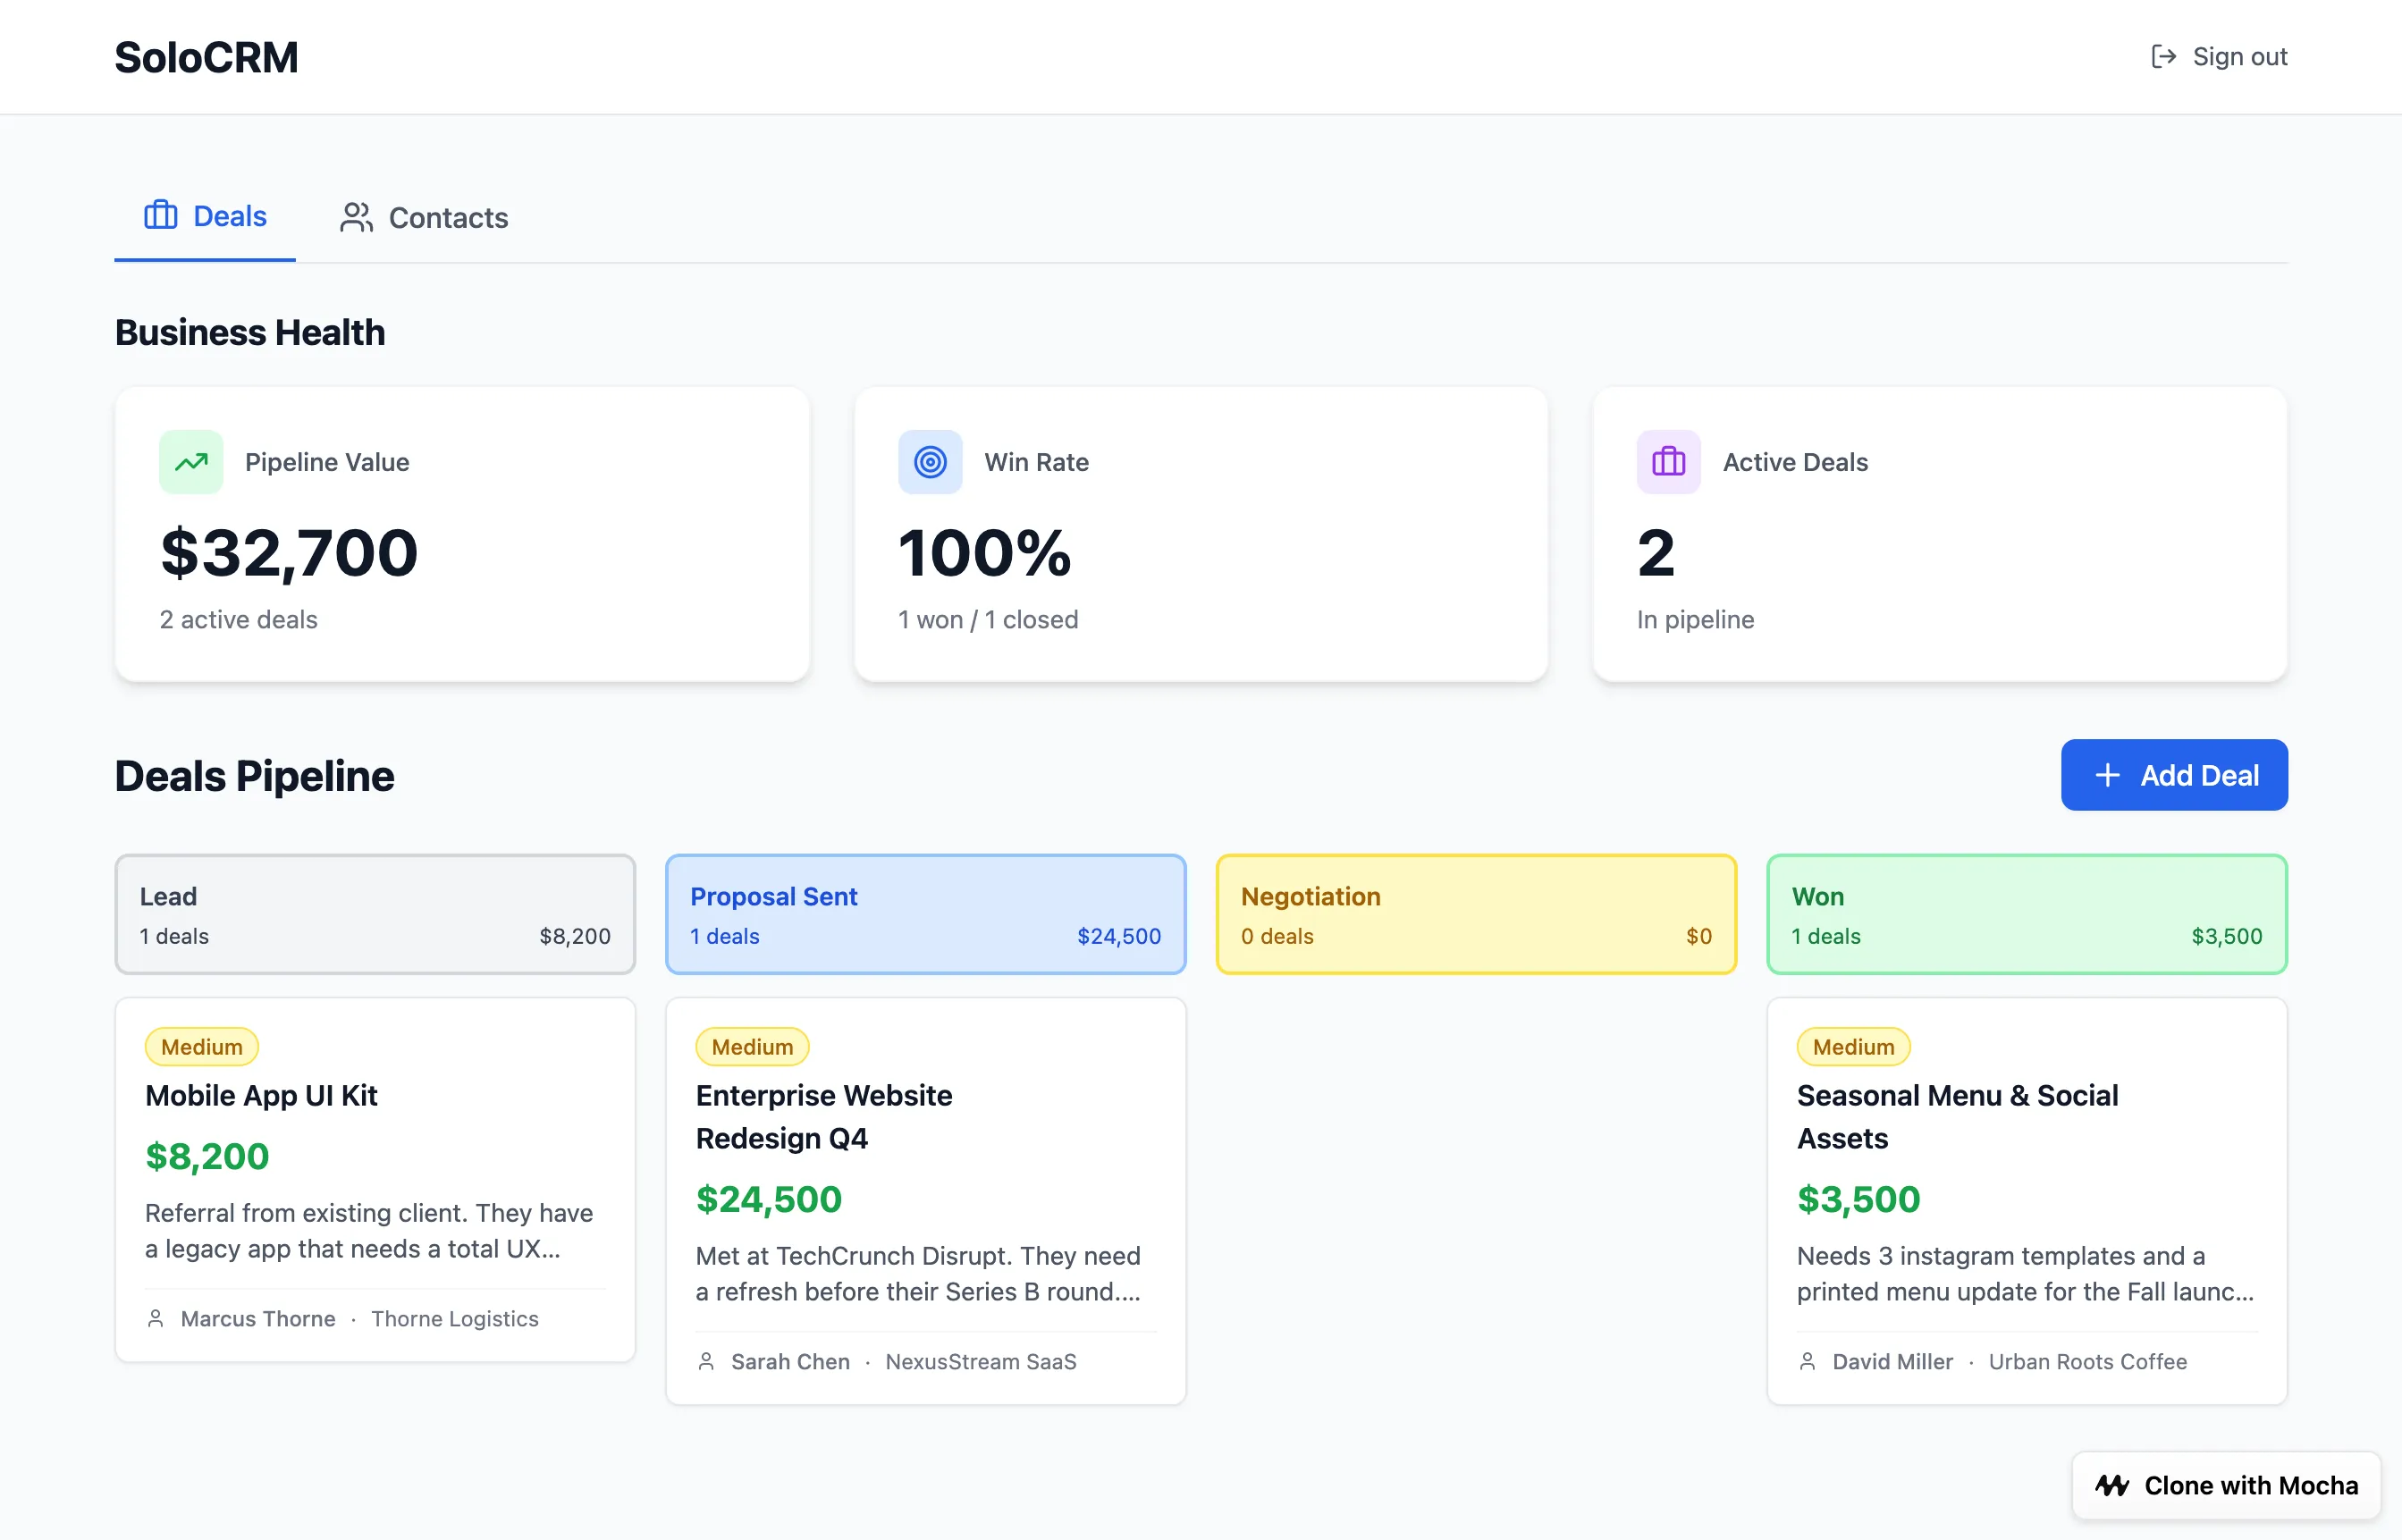
Now your Kanban cards show:
- The deal value prominently
- A colored priority indicator
- The associated contact’s name and company
- A quick-action button to advance the deal
- A “Lost Reason” capture when deals fall through
This is full-stack engineering - database relationships, conditional styling, action handlers - simplified into a conversation.
Step 4: Google Calendar Integration
This is the feature that makes the CRM feel genuinely powerful. It requires a bit of extra configuration with Google Cloud Console (about 5 minutes), but it’s well worth it - you’re building what would require Calendly (20/month) plus manual setup, baked directly into your CRM.
1. Add a 'Demo Scheduled' column to the Deal pipeline (between Negotiation and Won).
2. When a card is dragged into 'Demo Scheduled', immediately open a modal asking for: Date, Time, Timezone.
3. On save, create a real Google Calendar event using the logged-in user's credentials:
- Title: "Demo: [Deal Name]"
- Attendees: The current user AND the Contact's email address
- Auto-generate a Google Meet link
- Description: "Demo discussion for [Deal Name]"
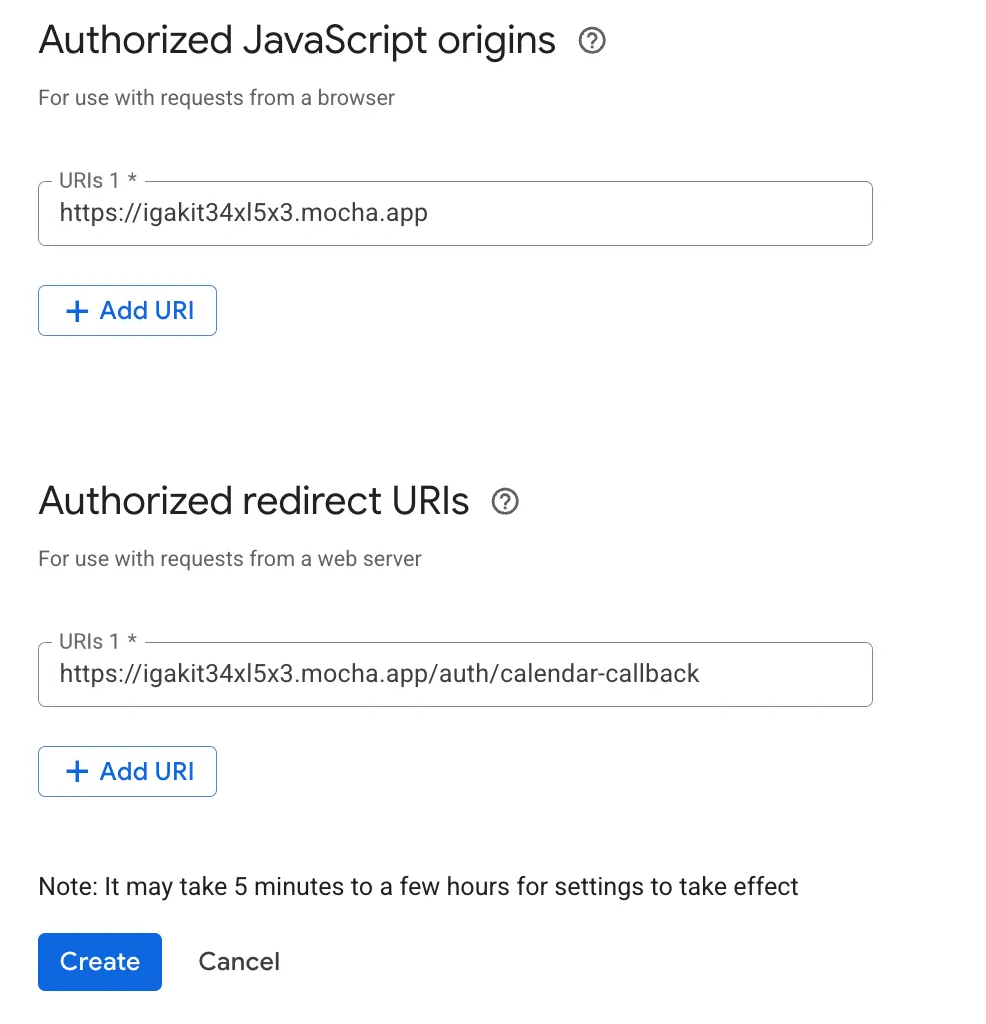
4. For the Google Calendar authentication flow, use this callback URL:
- Format: [YOUR_APP_URL]/auth/calendar-callback
- Find your app URL in Mocha Settings
- Example: https://igakit34xl5x3.mocha.app/auth/calendar-callback
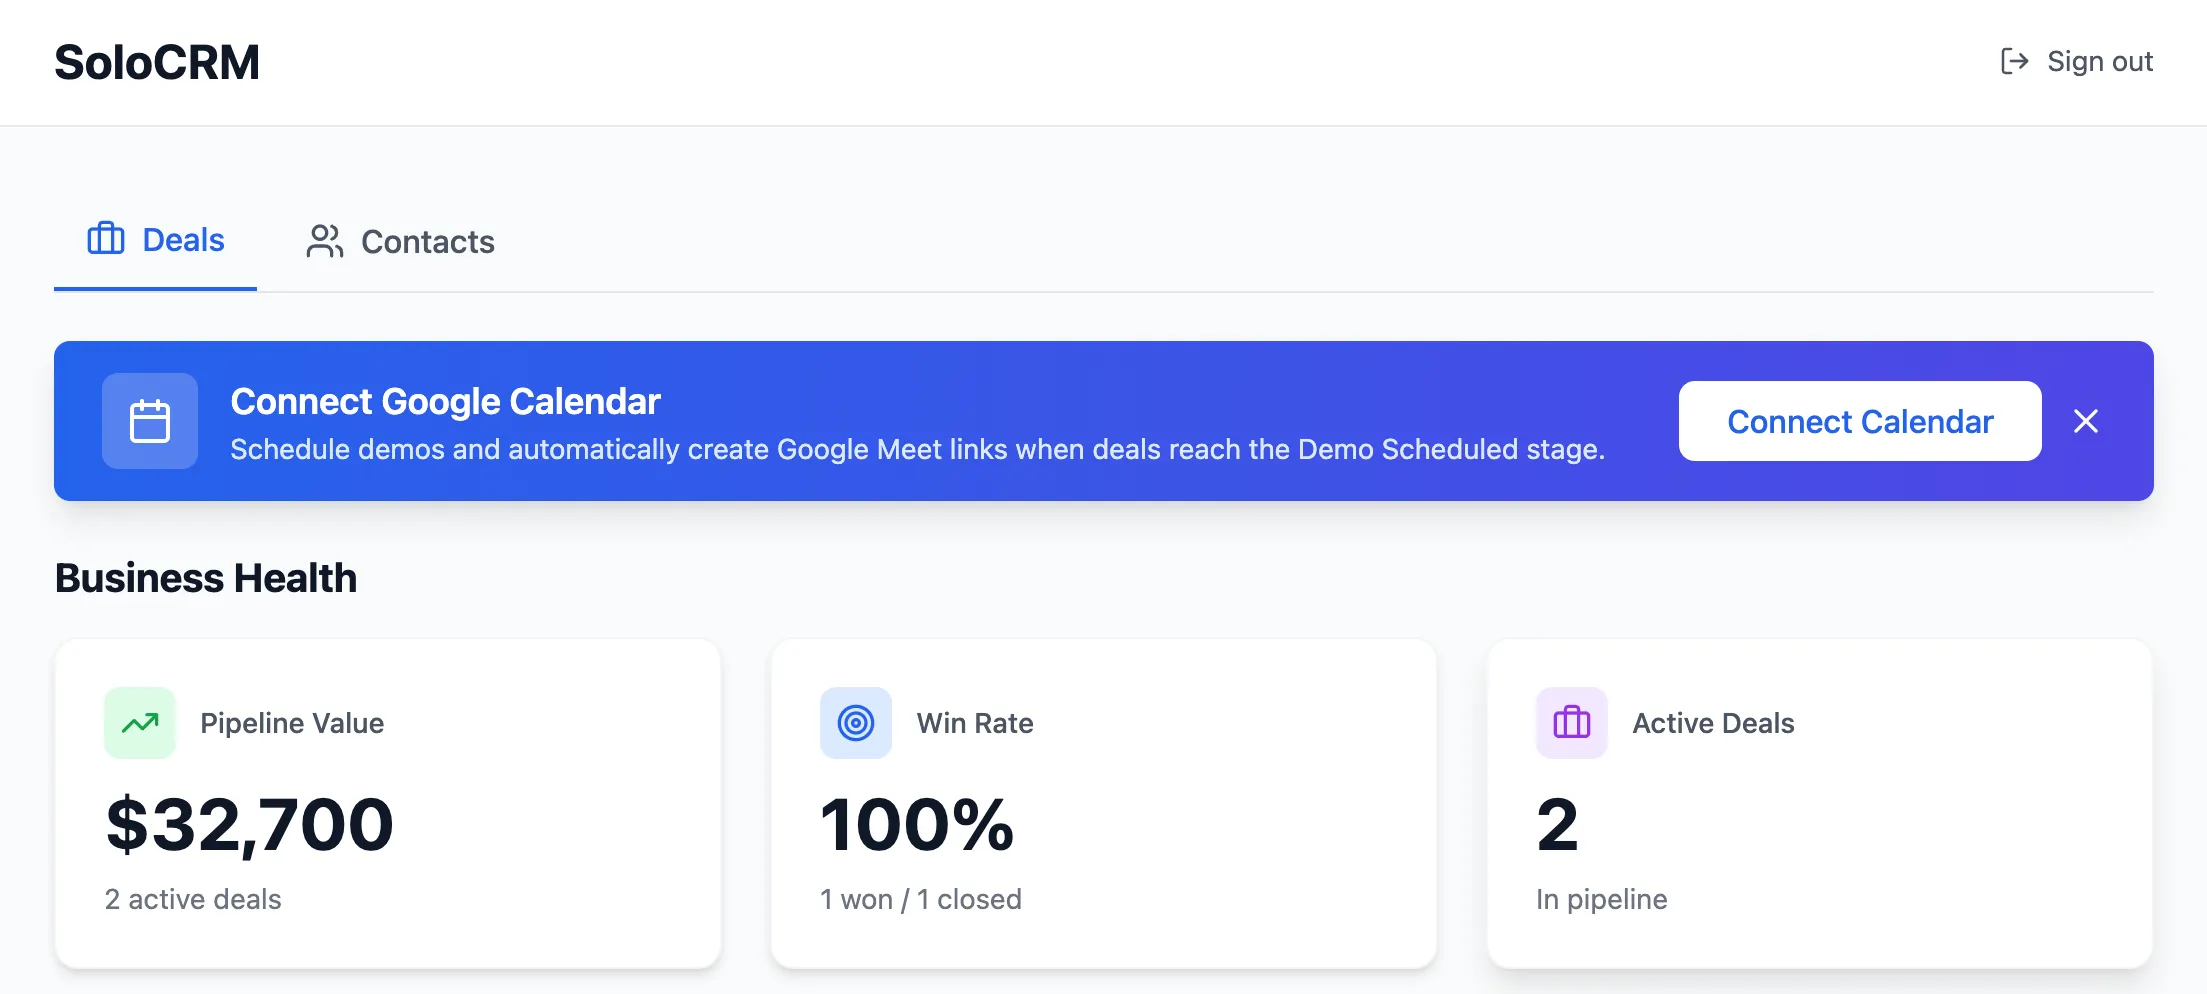
What this creates:
- A new pipeline stage that triggers automation
- A scheduling modal that appears on drag-and-drop
- Real Google Calendar events with Google Meet links
- Automatic attendee invitations
Setting Up Google Calendar Access
This is the only part of the tutorial that requires external configuration. Simply follow the steps, it only takes about 5 minutes:
- Go to Google Cloud Console.
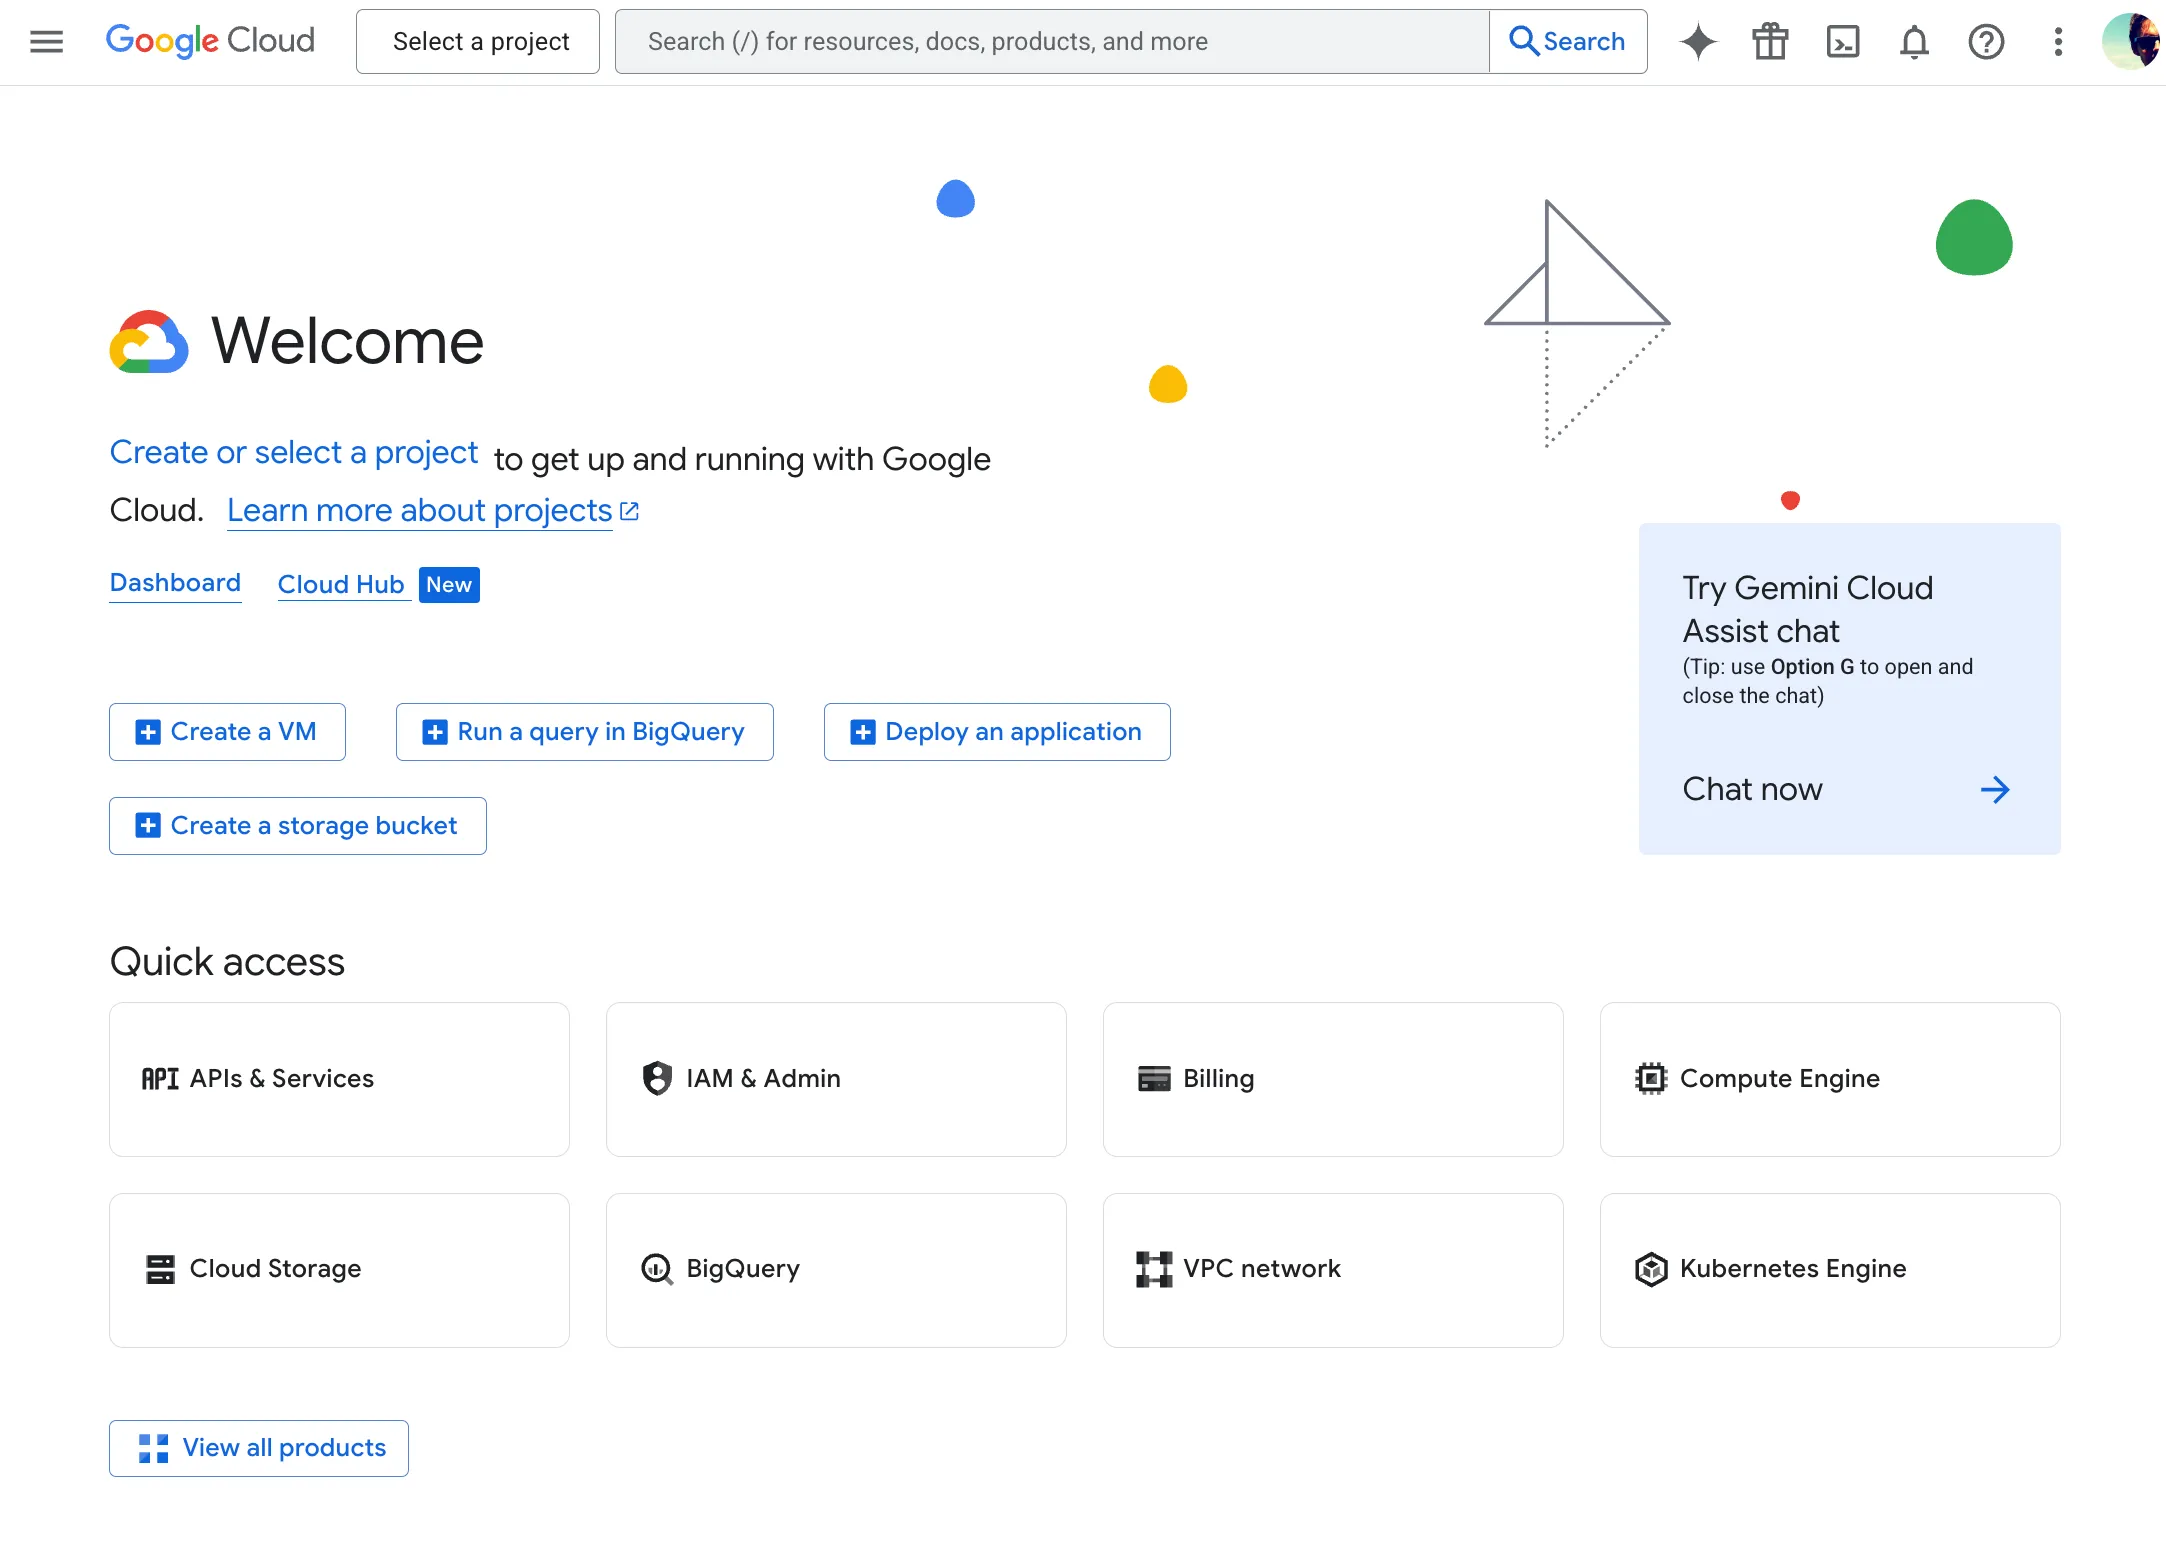
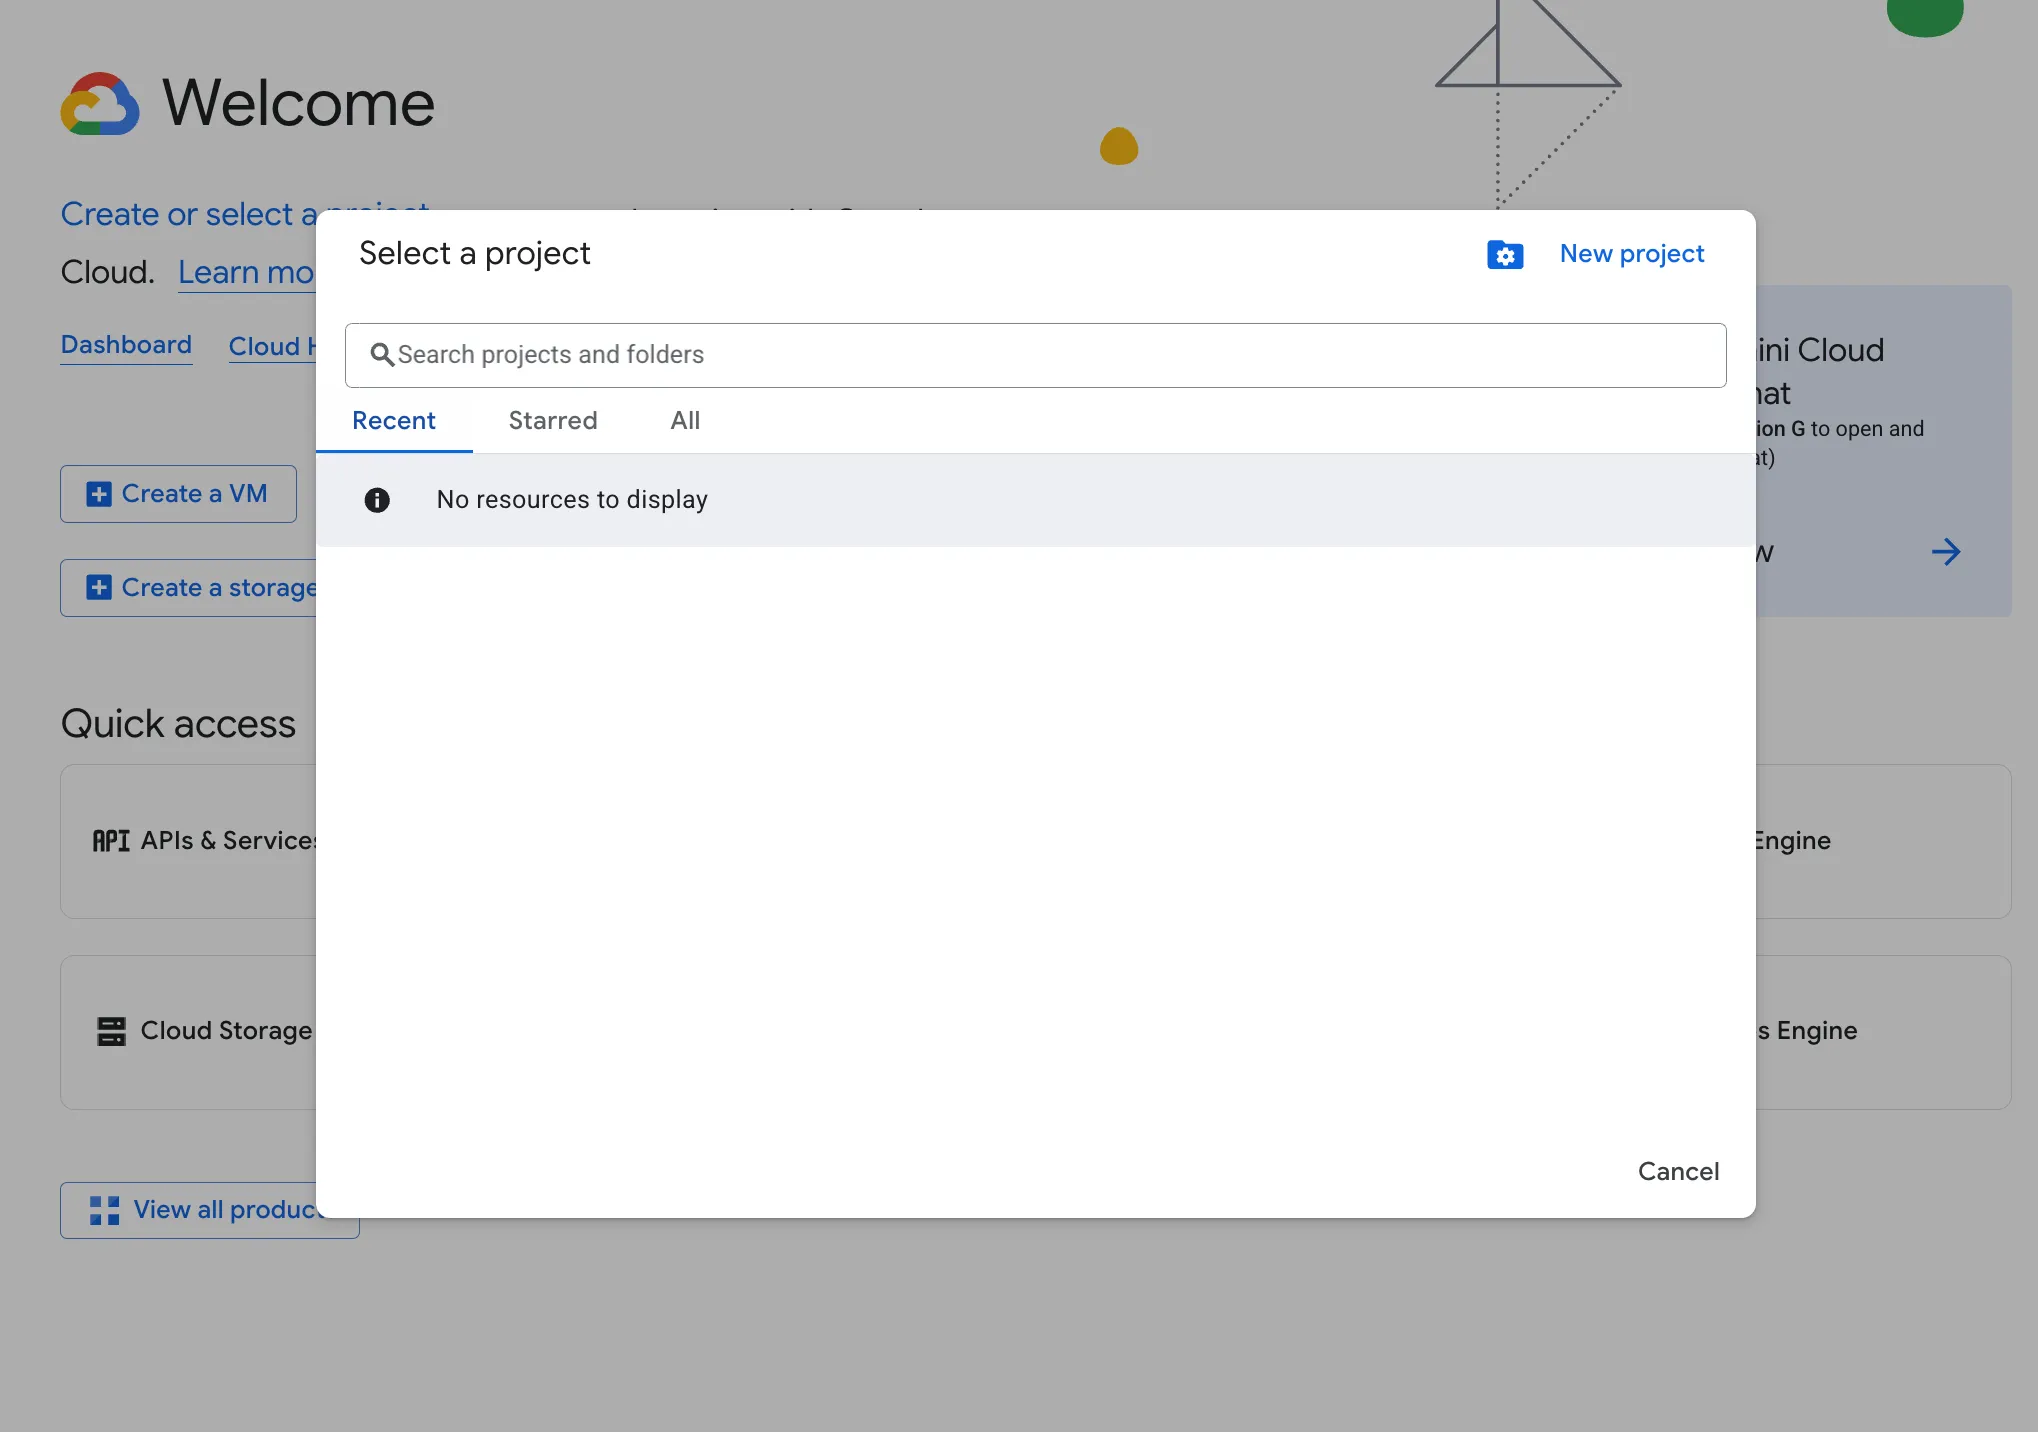
- Click “Select a Project” then click “New Project” (or use an existing one).
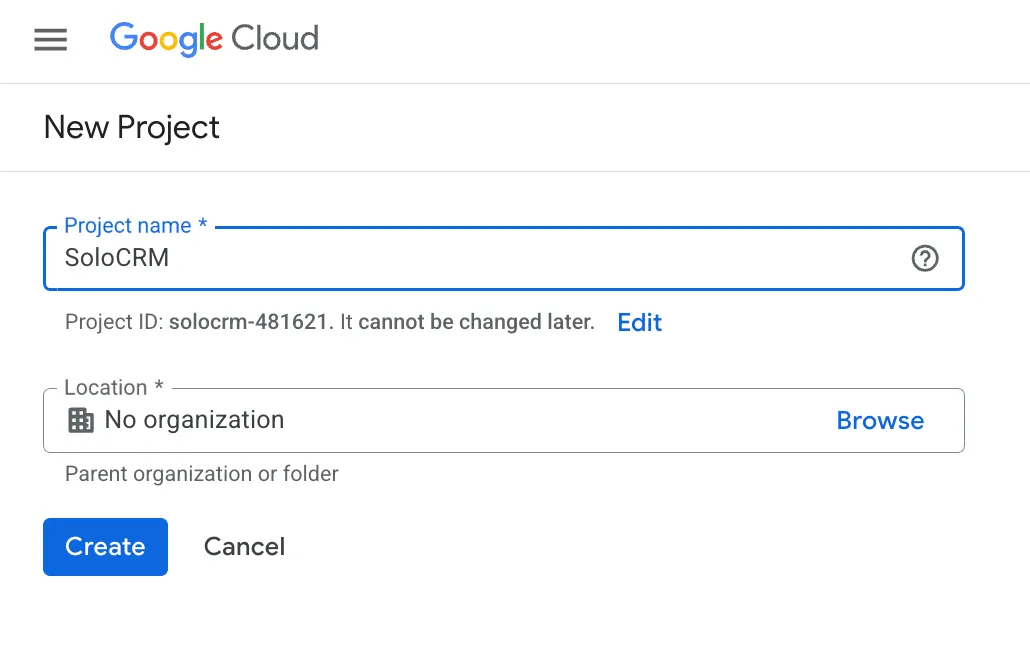
- Name the project “SoloCRM” and click “Create”. The project should be created after a few seconds. Select it.
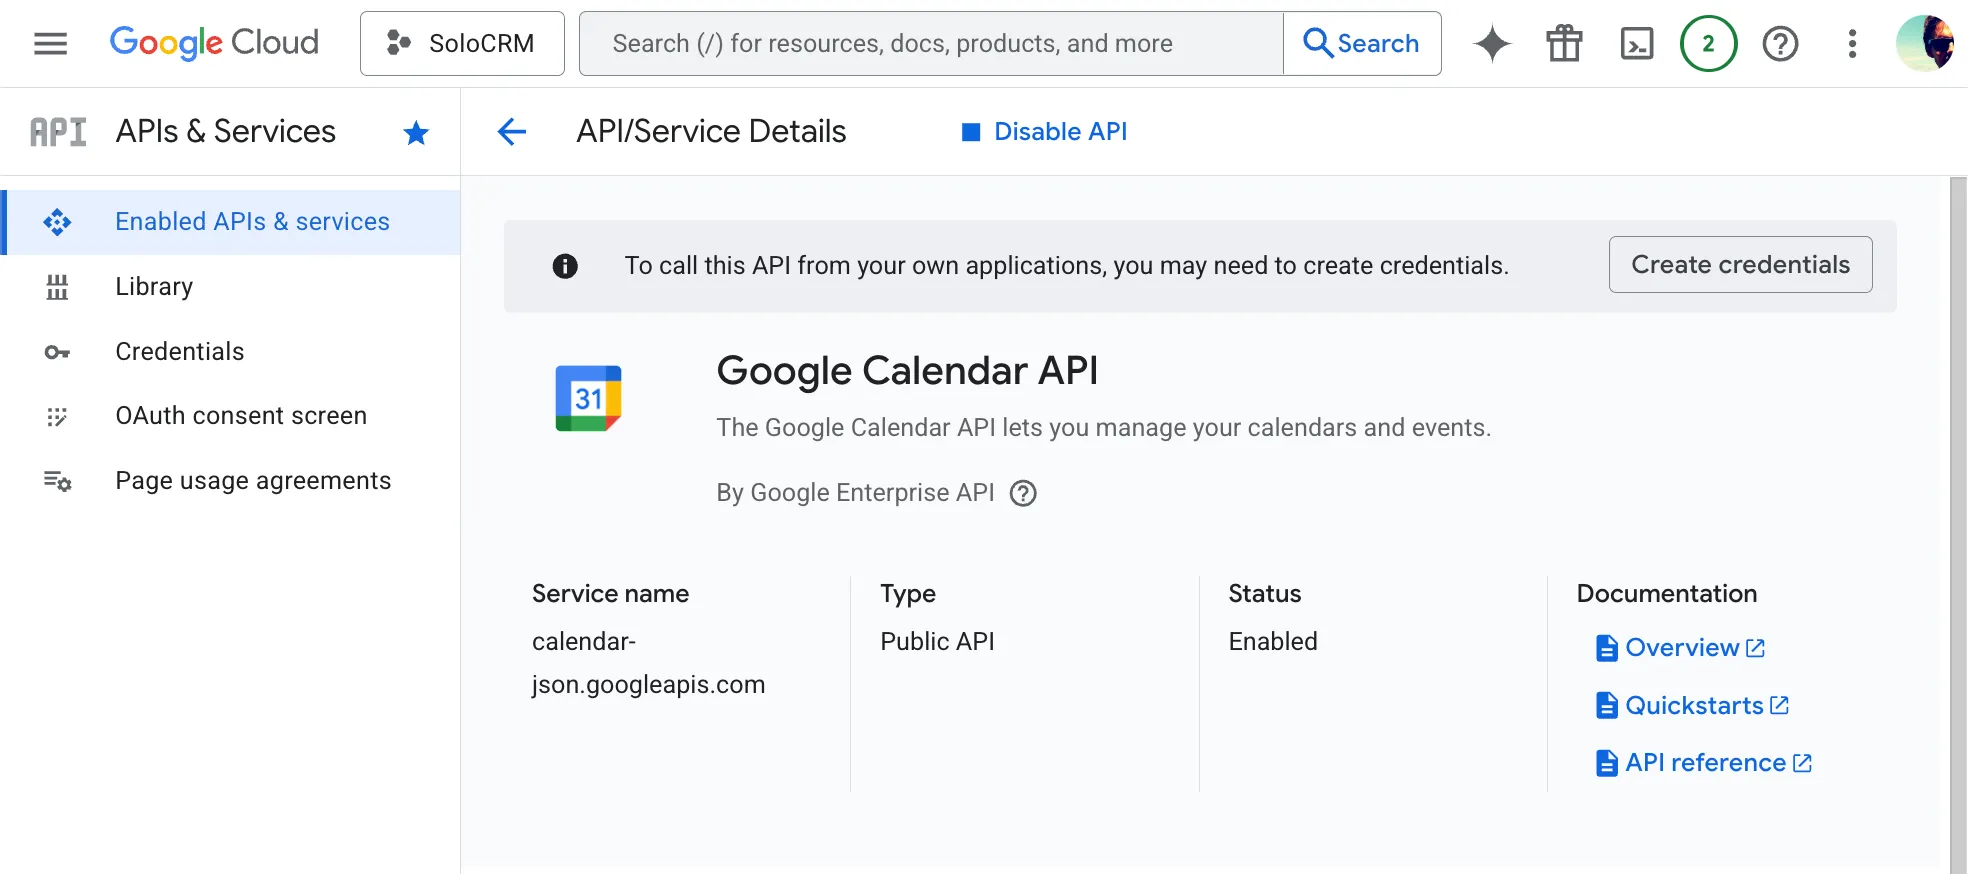
- Enable the Google Calendar API: Enable Calendar API →.
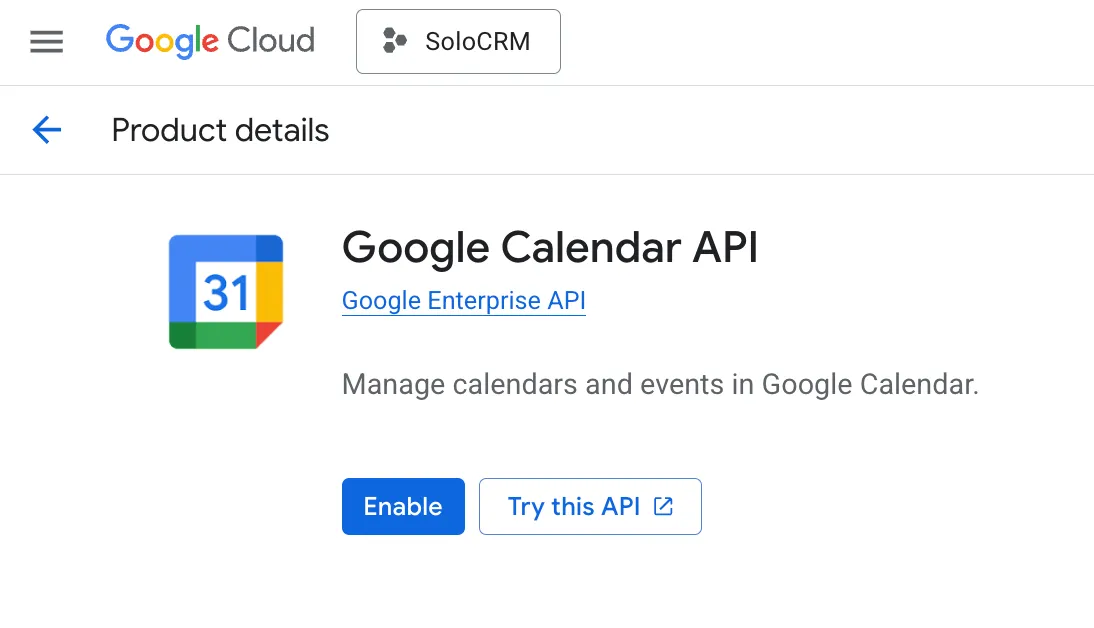
- When the Calendar API is enabled, you should land on the API/Service Details page for Google Calendar API. Go to APIs & Services → Credentials in the side menu.
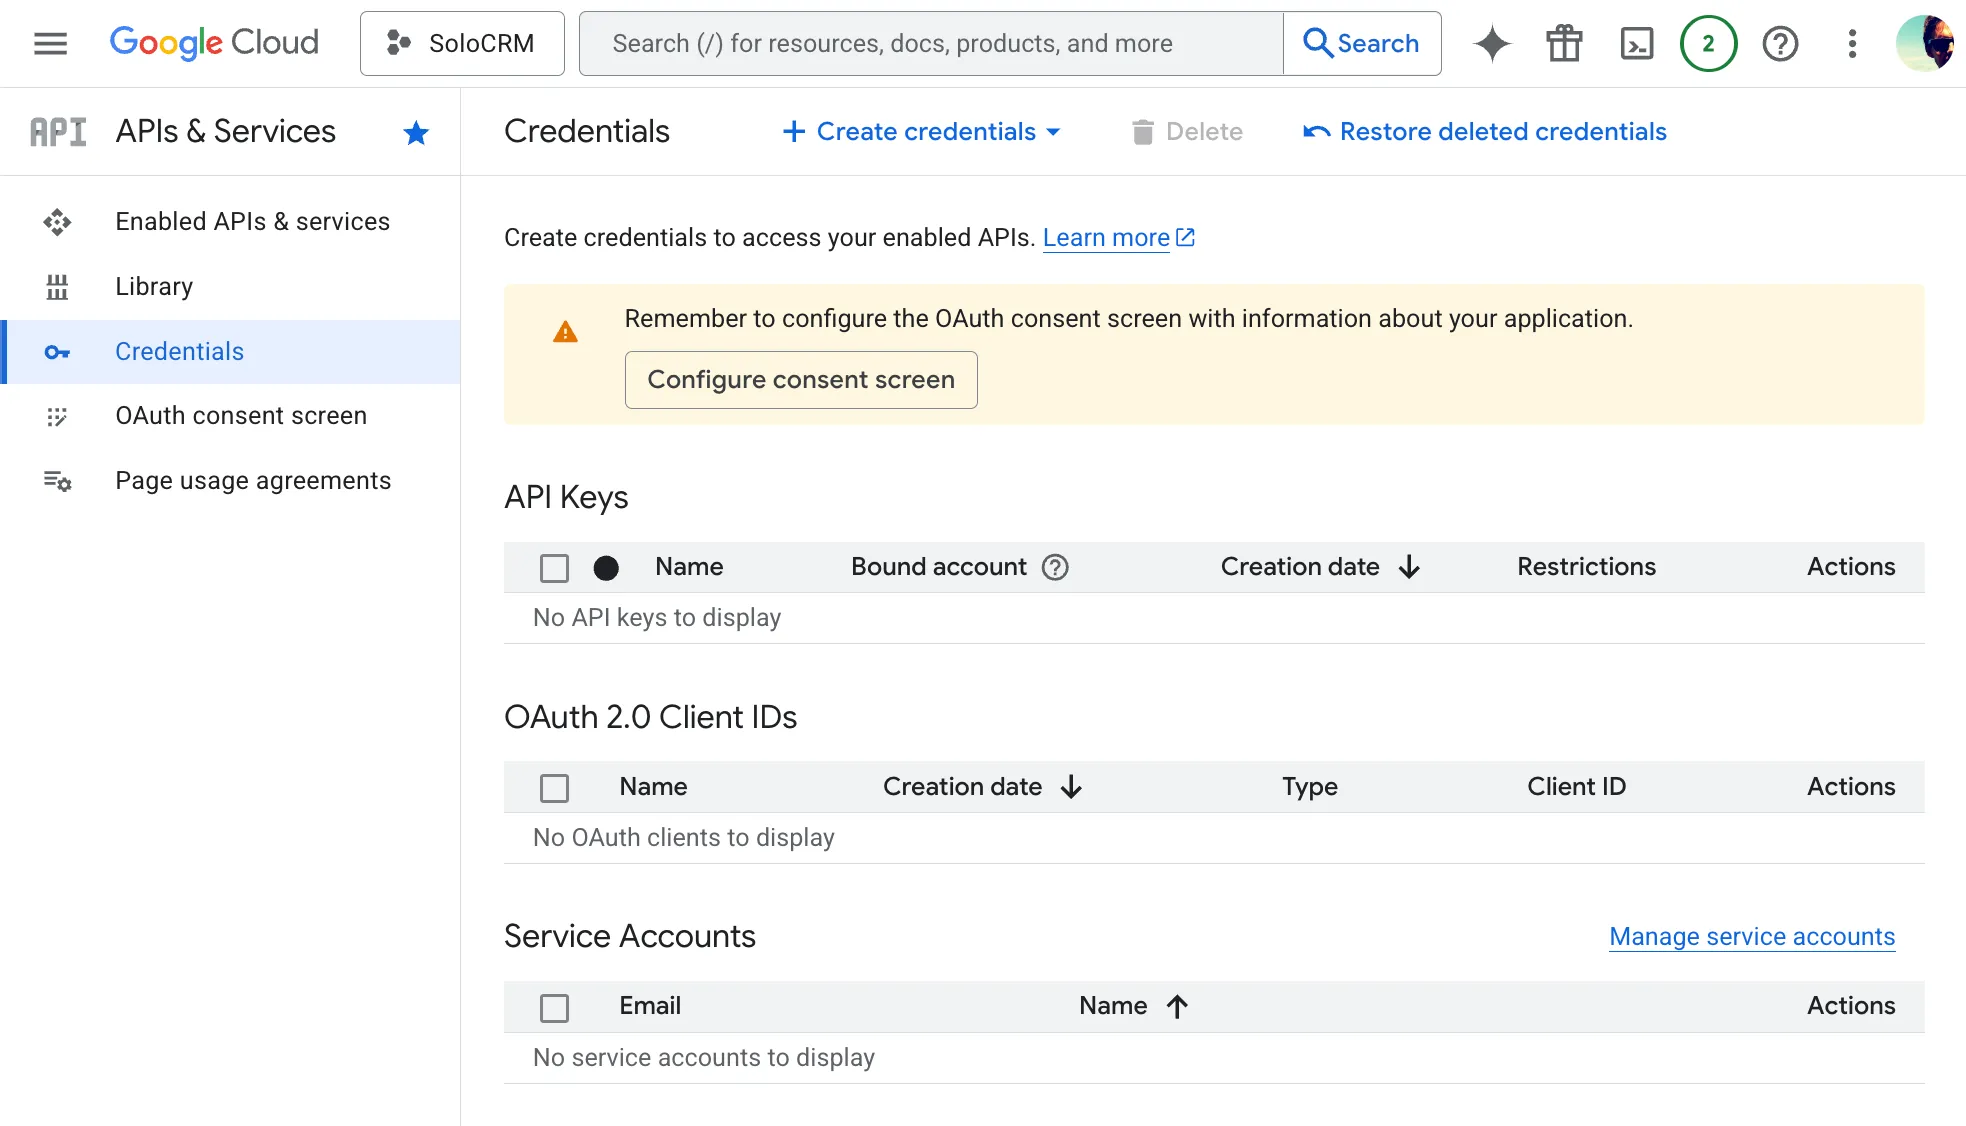
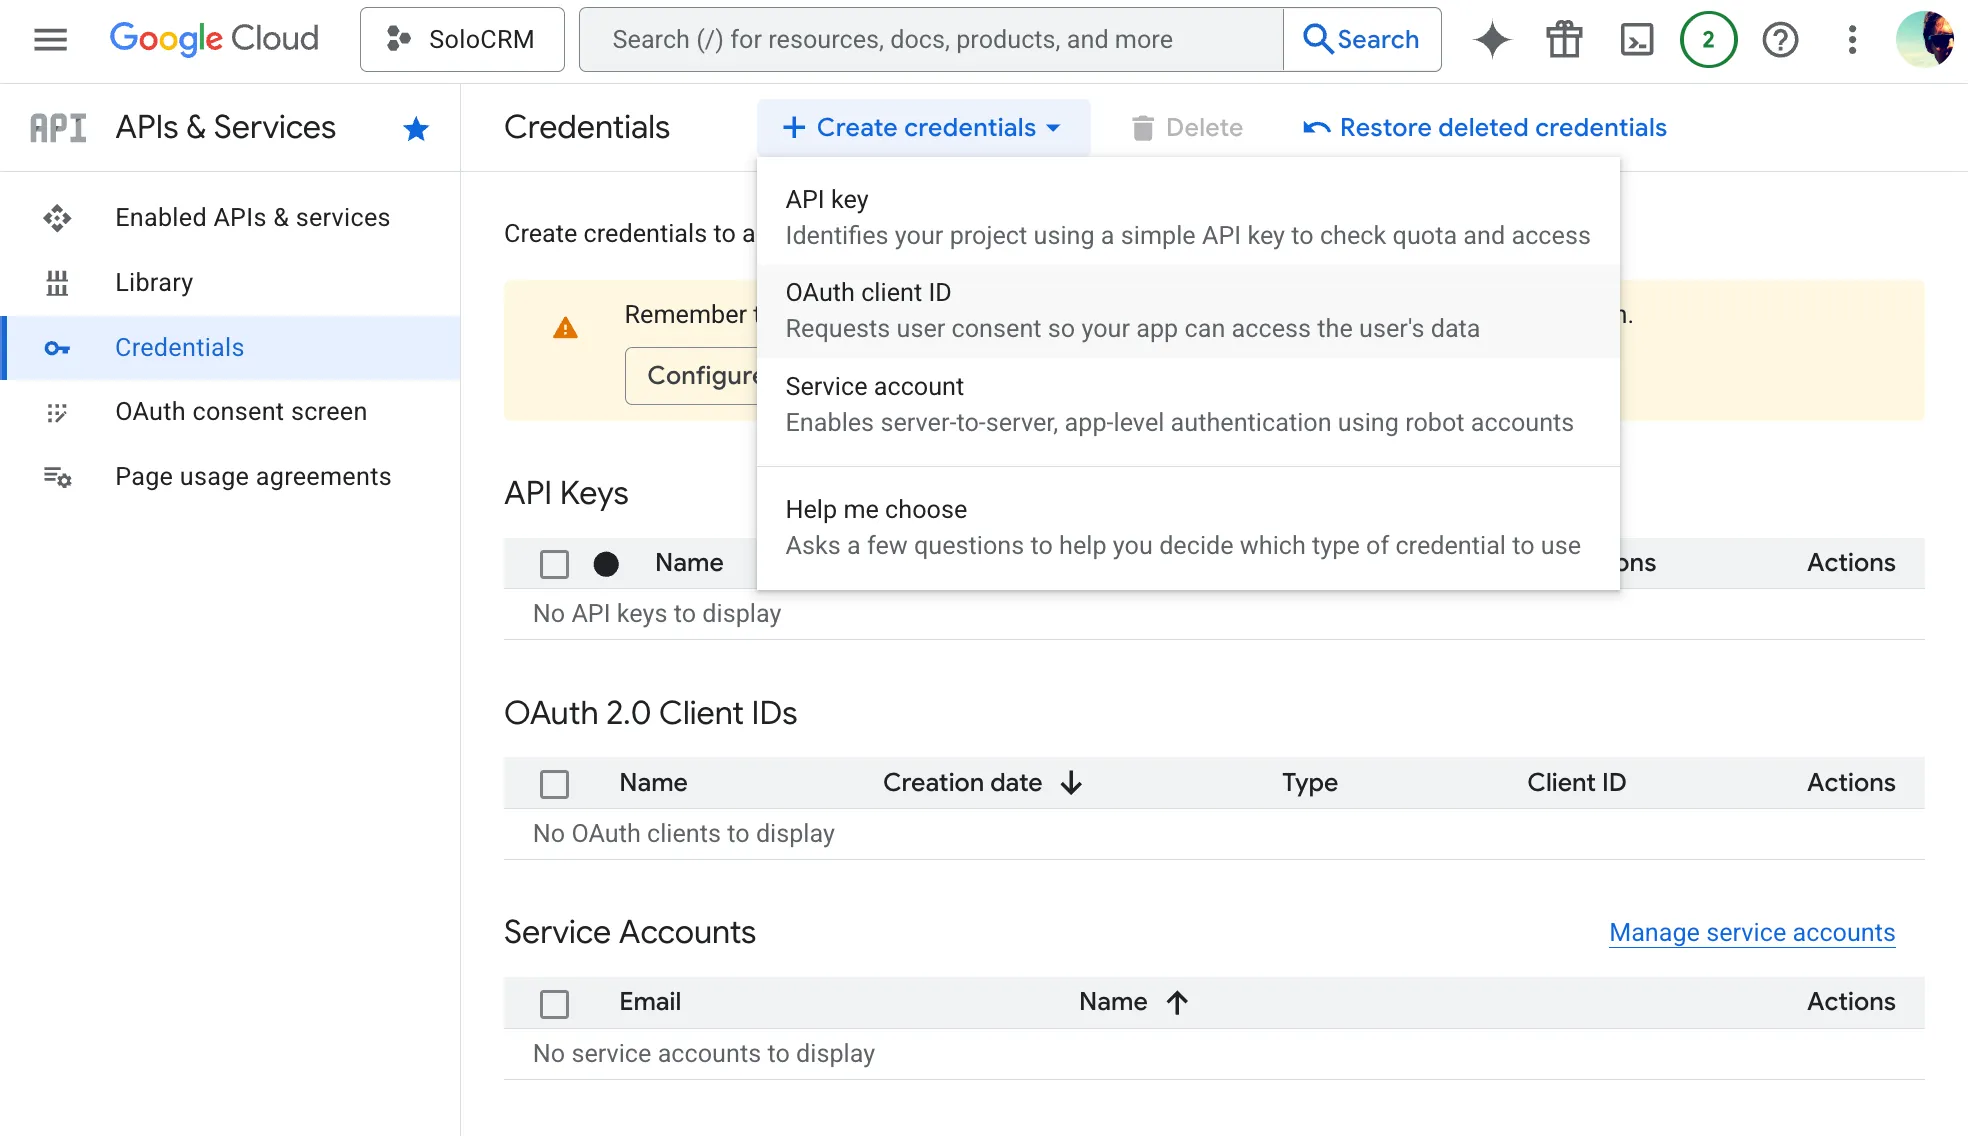
- Click Create Credentials → OAuth client ID
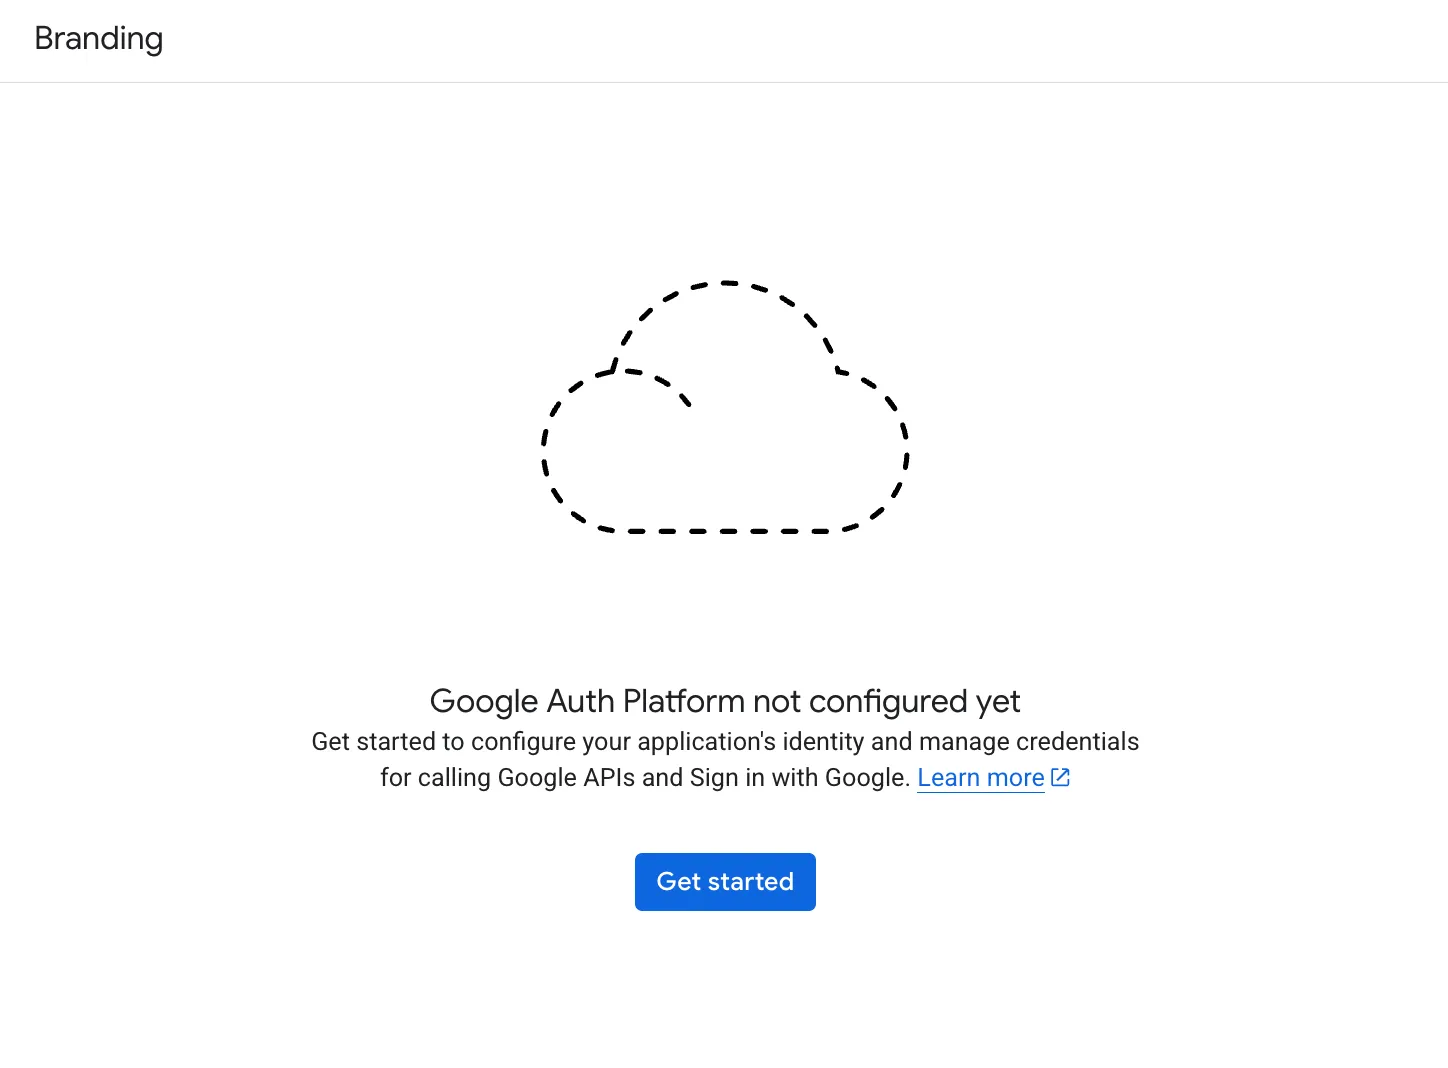
- First, configure the consent screen that your CRM users will see when connecting their Google Calendar account.
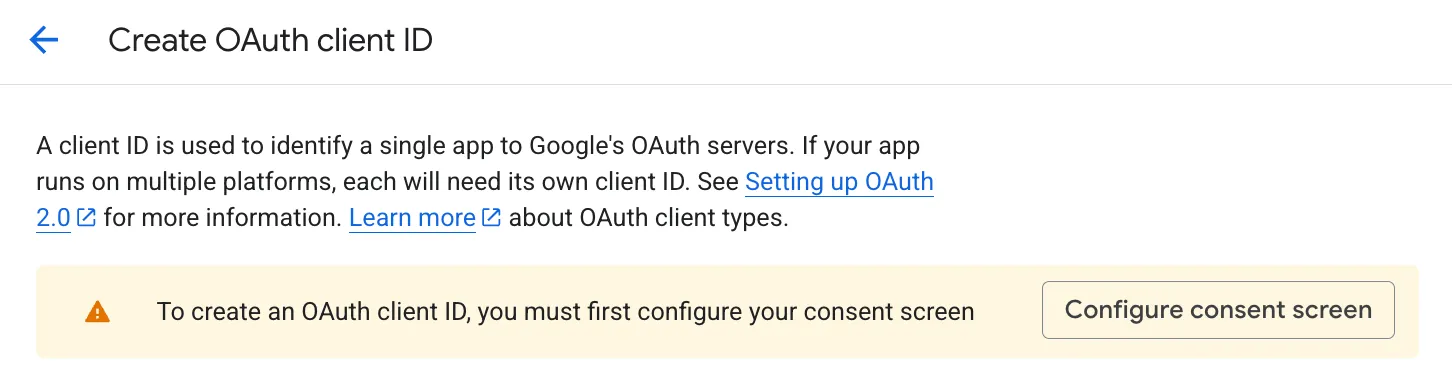
- Click Configure consent screen
- Click Get started.
- Name the app “SoloCRM” and enter your email address. Click Next.
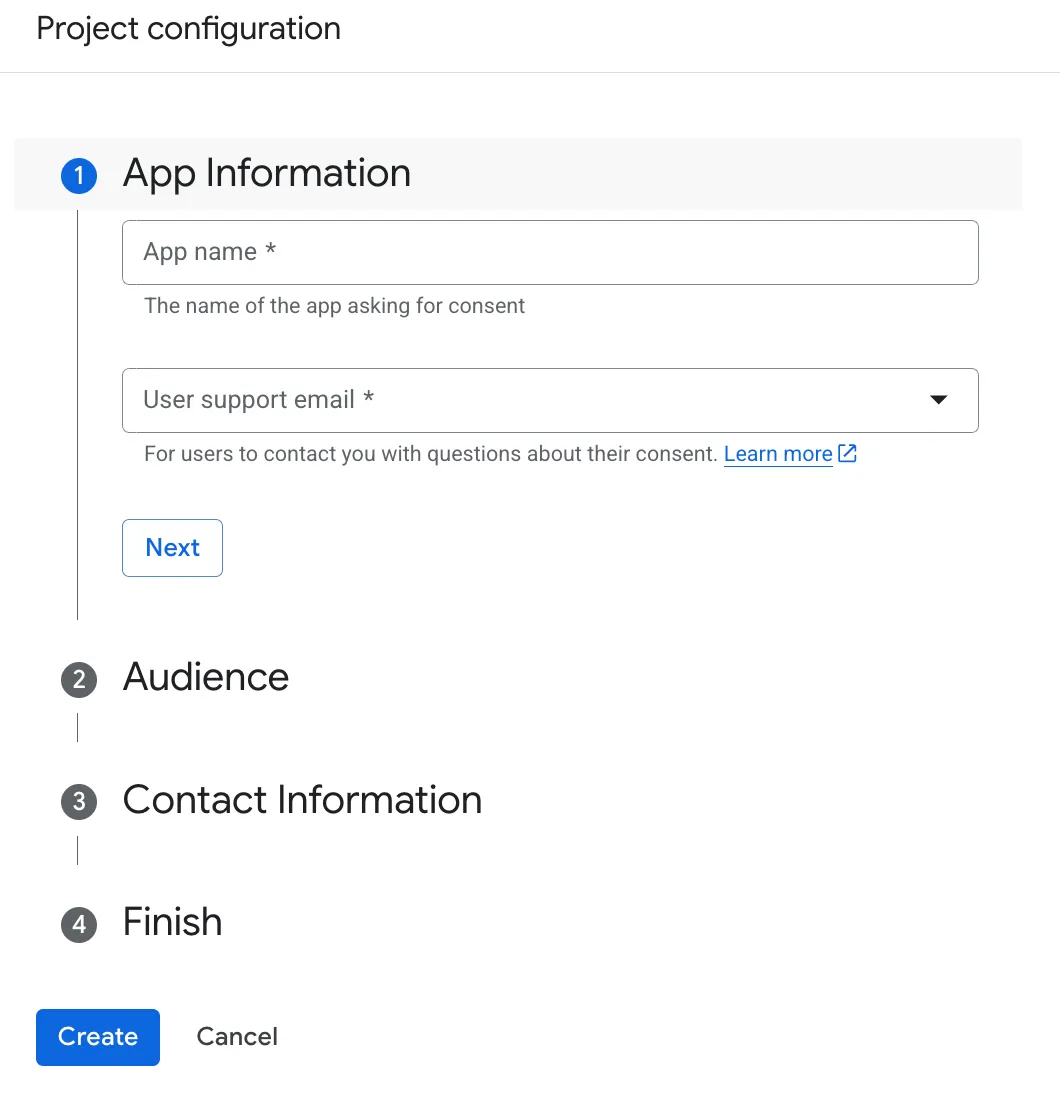
- In the “Audience” section, select “External”. Click Next.
- In the “Contact information”, enter your email address. Click Next.
- Read and agree to the terms of service and data policy. Click Continue.
- Click “Create”.
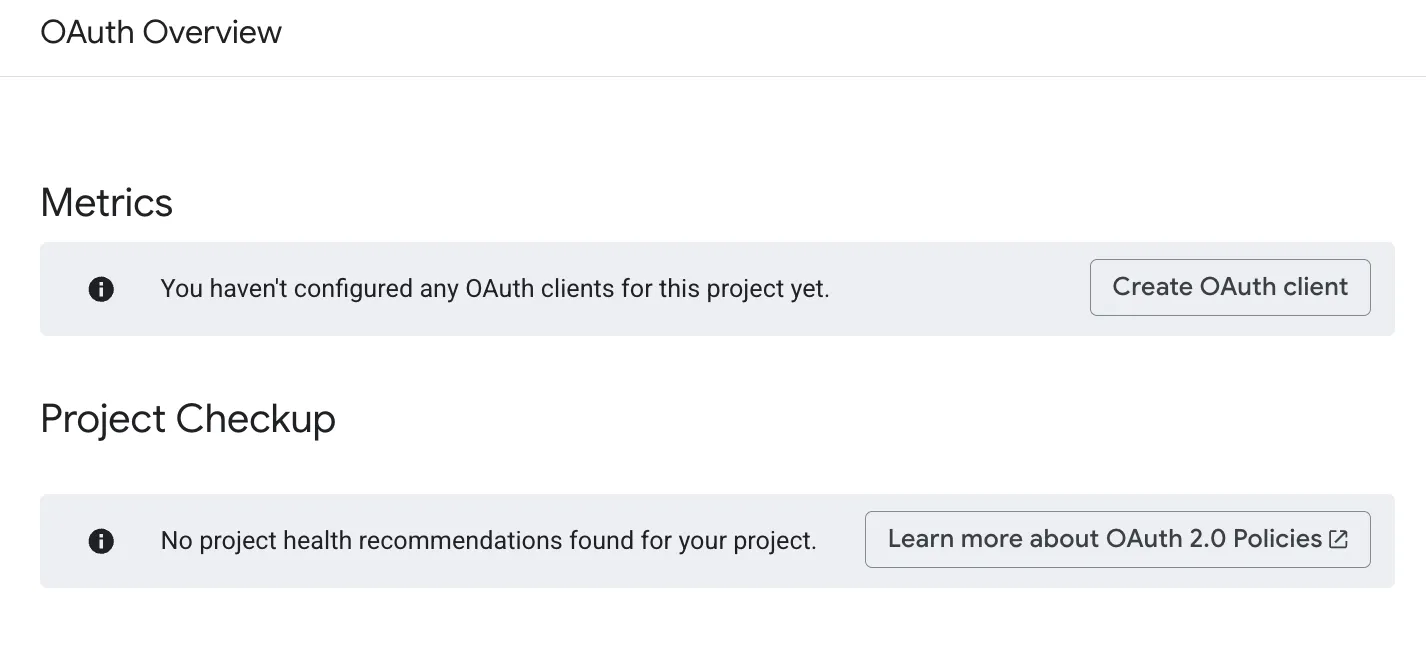
- Now let’s click on “Create OAuth Client”:
- Choose Web application. Name it SoloCRM.
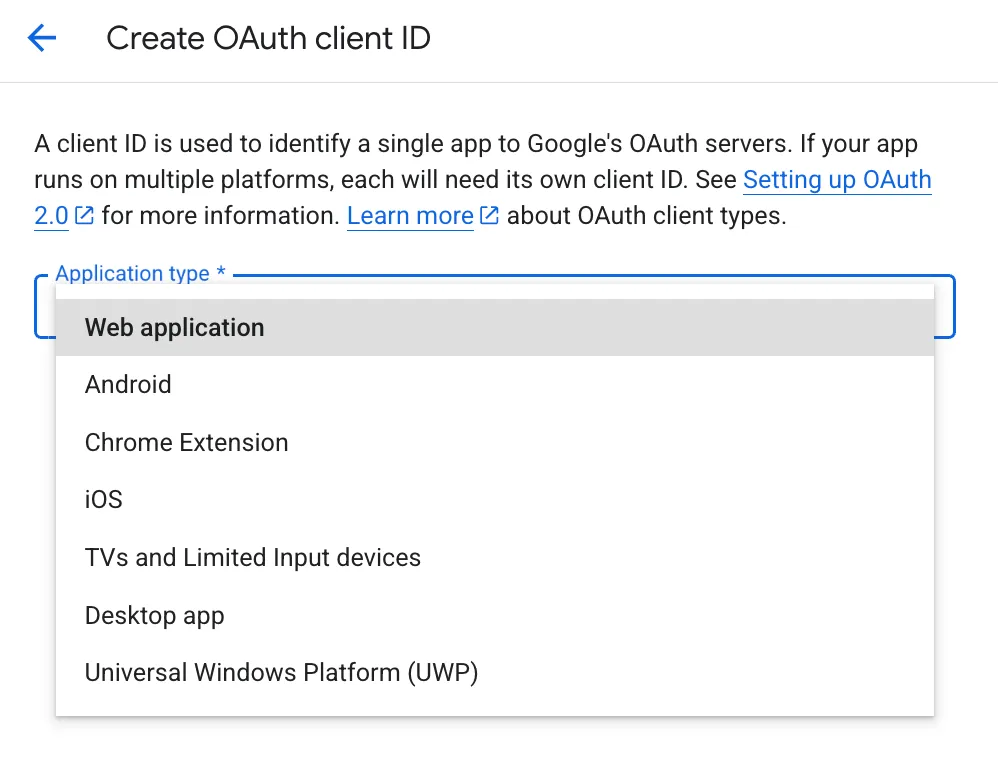
- In “Authorized JavaScript origins”, enter your Mocha app URL. For example:
https://igakit34xl5x3.mocha.app. - In “Authorized redirect URIs”, enter
[YOUR_APP_URL]/auth/calendar-callback. For example:https://igakit34xl5x3.mocha.app/auth/calendar-callback. - Click “Create” to confirm.
- Download the Client ID and Client Secret.
- Go back to the Mocha prompt and enter their values.
Once configured, your Kanban board now has a “Demo Scheduled” column. Drag a deal there and you’ll see a scheduling modal - pick a date and time, and a Google Calendar event with a Meet link is automatically created for you and your contact.
Step 5: Visual Design with Inspiration
Don’t know how to describe the design you want? Don’t worry - you don’t have to.
- Find a CRM design you like on Dribbble or Pinterest
- Screenshot it
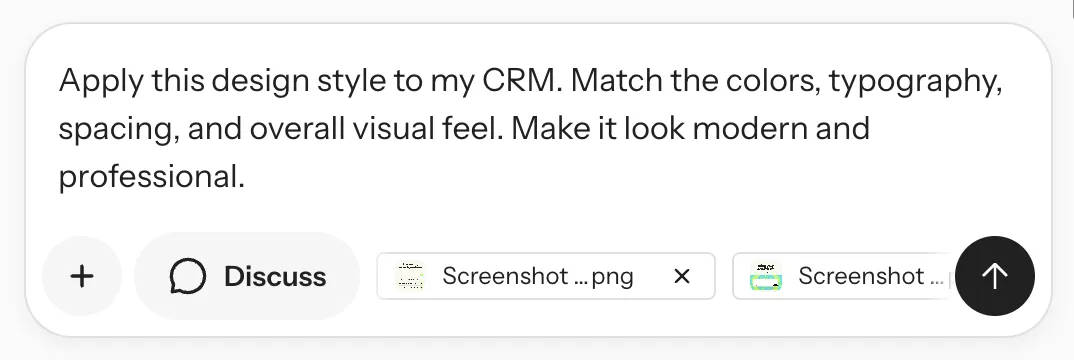
- Drop the image into Mocha’s chat
- Optionally add a prompt to guide the styling:
Since Mocha recently launched a new website design, we’ll use screenshots from getmocha.com to retheme our CRM - giving it that same polished, modern look.
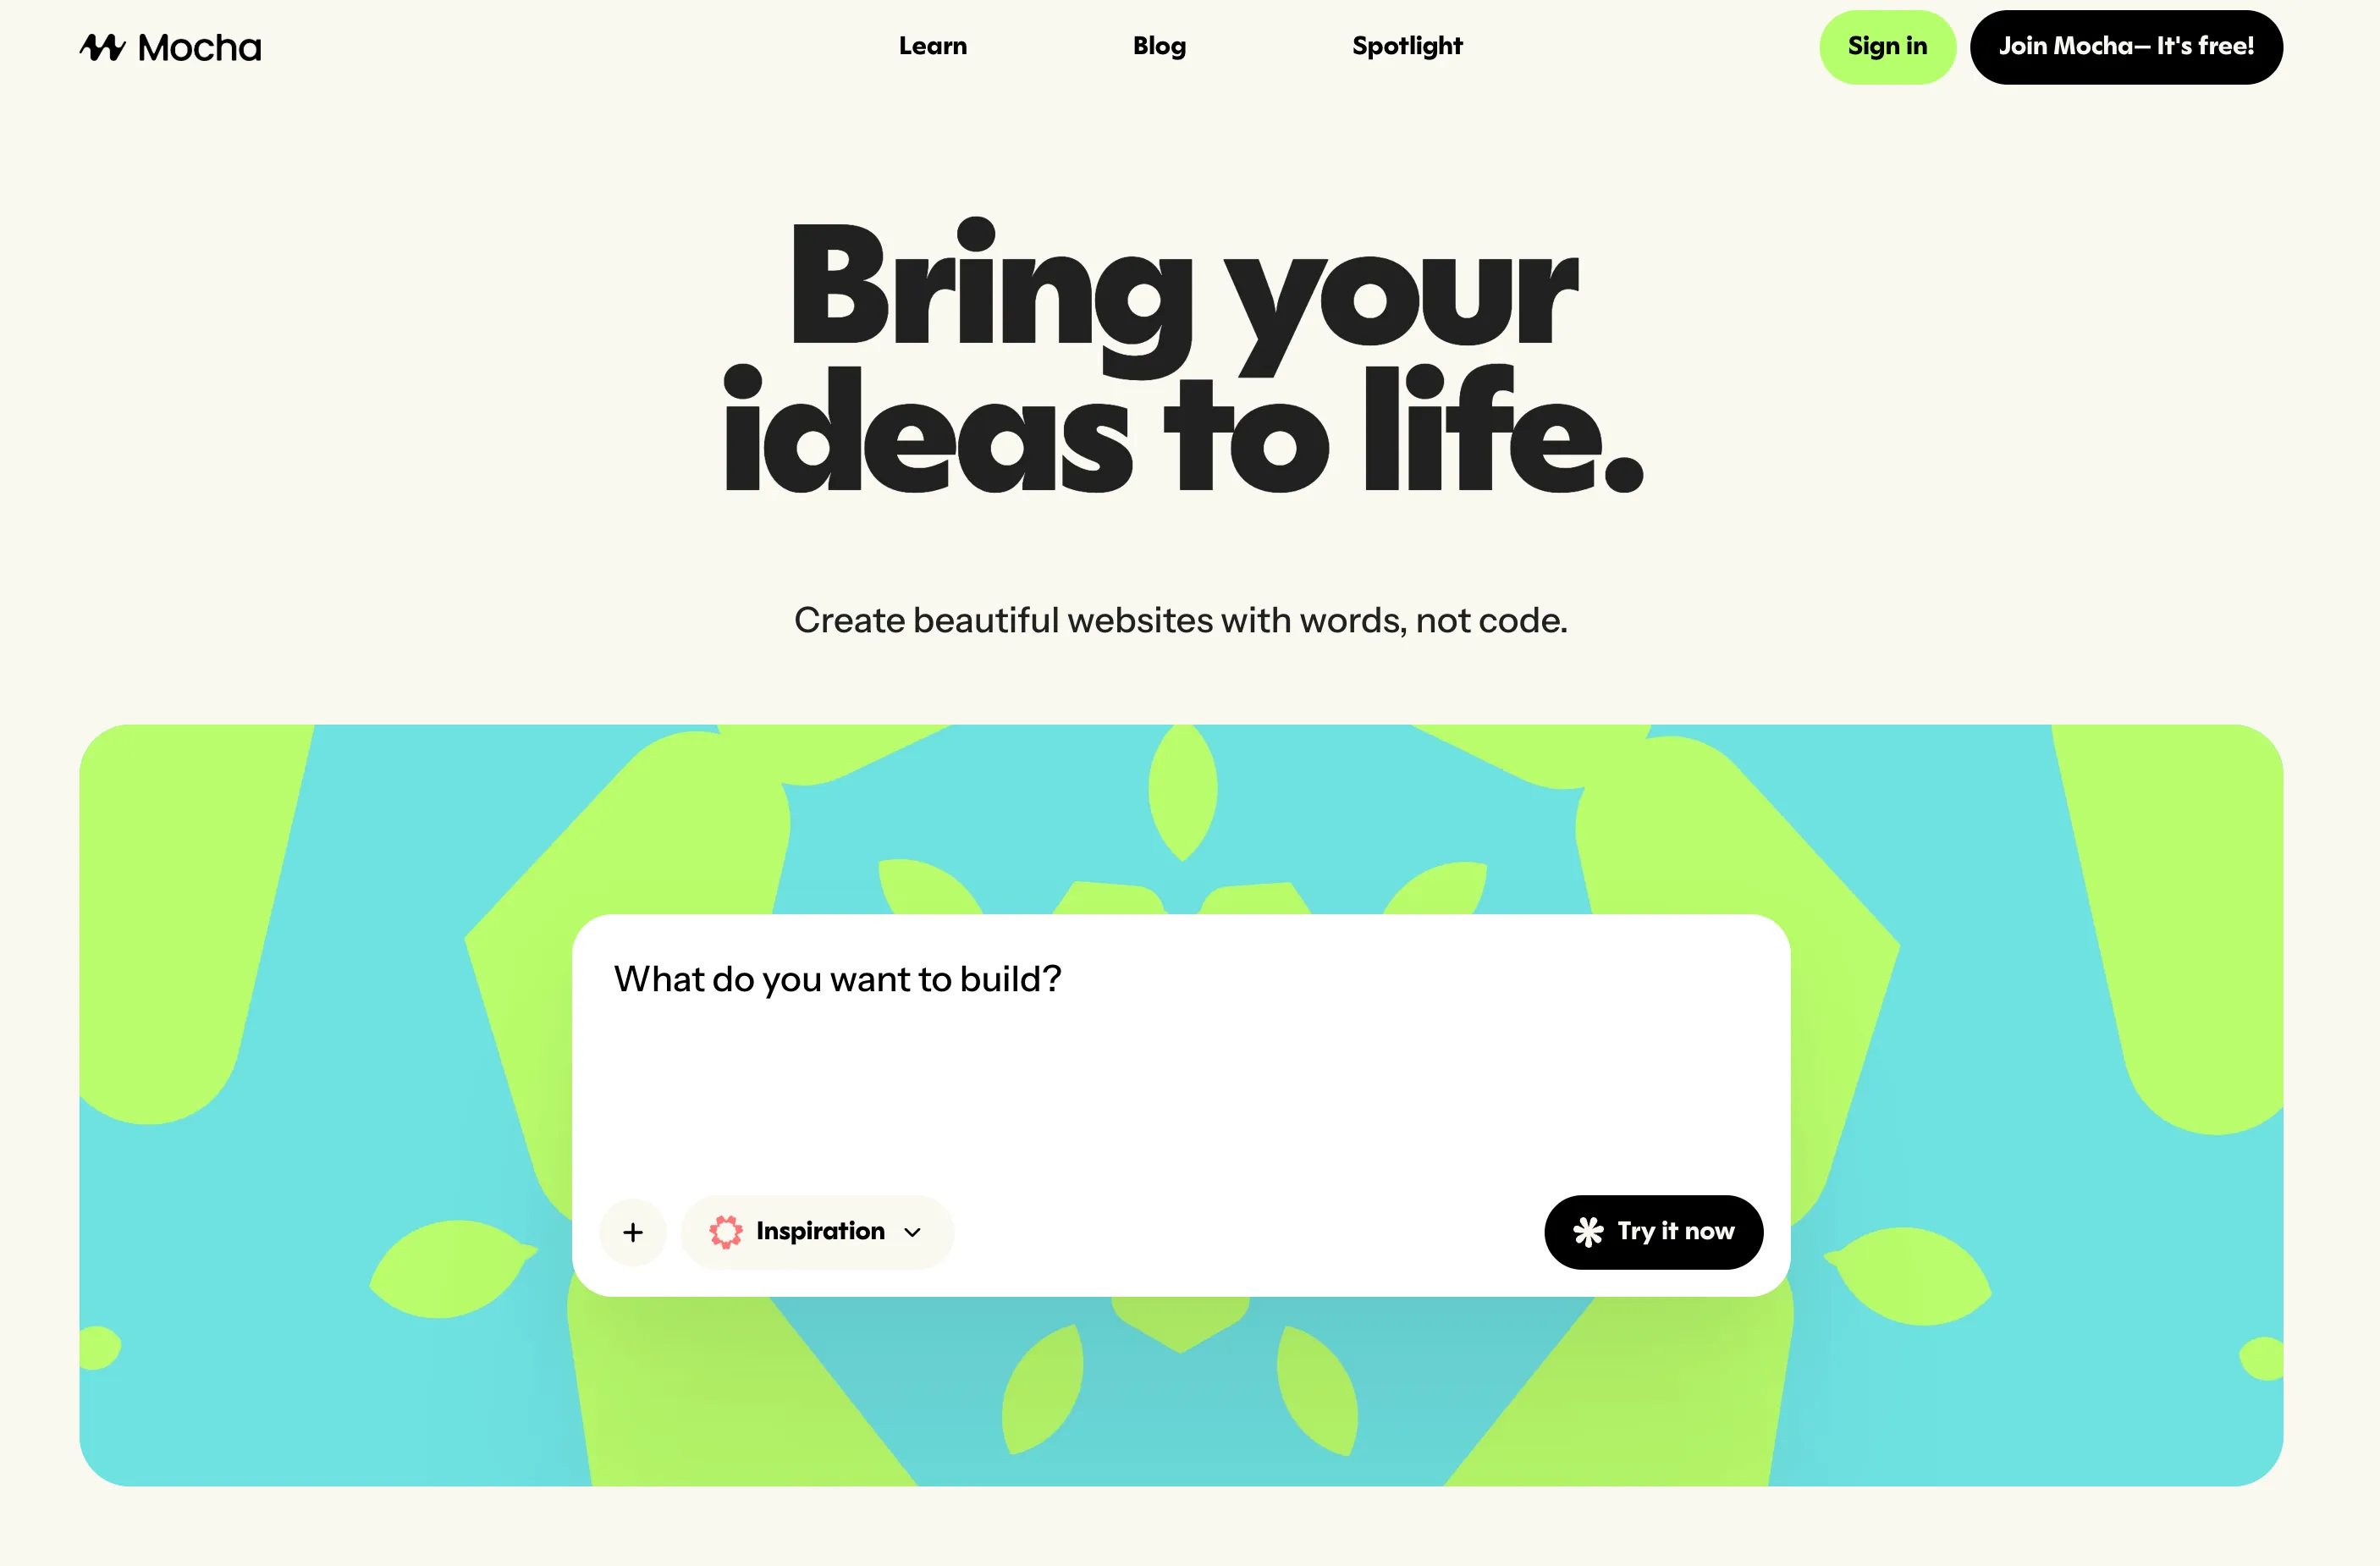
Drop the screenshot into Mocha’s chat along with your prompt - Mocha can “see” the image and understand the design you’re going for.
Mocha analyzes the visual design - colors, typography, spacing, shadows - and applies that style to your existing application. No CSS knowledge required. No design specs to write. Just “make it look like this.”
This works because Mocha isn’t just looking at your screenshot as an image. It’s understanding the design system: the color palette, the component patterns, the whitespace philosophy. Then it translates that into your specific app’s structure.
What You Just Built vs. What It Would Cost Elsewhere
| Approach | Cost | Readiness | Flexibility | Ownership |
|---|---|---|---|---|
| HubSpot Starter | $20/mo | Days | Limited | No |
| Pipedrive | $14/mo | Days | Limited | No |
| Custom CRM | $20,000+ | 3-6 months | Full | Yes |
| Mocha | Free tier available | 20 minutes | Full | Yes |
The ownership question matters more than most people realize. With Mocha, you’re building on a real SQLite database with React code - not proprietary configurations locked to a platform. If you ever want to export your data or move to a different hosting solution, you can.
Unlike tools like Softr or Glide that depend on external databases (Airtable, Google Sheets), Mocha runs on a self-contained database. That means no “glue layer” that breaks when you accidentally rename a column in your spreadsheet. It’s faster, more reliable, and doesn’t have a fragile external dependency.
Making It Your Own: Customization Ideas for Your Niche
Generic CRMs treat every business the same. But a photographer needs to track “Shoot Dates,” while a construction manager needs “Permit Status.”
Here are specific prompts to tailor this CRM to your exact profession in seconds:
For Photographers & Videographers
Stop paying for HoneyBook if you only use the calendar.
• "Shoot Date" (Date picker)
• "Location" (Address field)
• "Package Type" (Dropdown: Wedding, Portrait, Commercial)
• "Deliverables Status" (Dropdown: Editing, Uploading, Sent)
Create a "Calendar View" for the dashboard that shows deals based on their Shoot Date.
For Contractors
Track the physical details of the job site.
• "Property Address" (Map link)
• "Permit Status" (Dropdown: Not Needed, Applied, Approved)
• "Contractor Access Code" (Text)
• "Budget vs Actual" (Currency calculation)
Add a "Photos" upload field to every contact so I can store site visits.
For Coaches & Tutors
Manage student sessions and retainer packages.
• "Total Sessions Purchased" (Number)
• "Sessions Used" (Number)
• "Remaining Sessions" (Calculated field)
Add a "Homework/Notes" text area to the Contact view that is private to me.
For Event Planners
Manage deadlines and headcounts effectively.
• "Event Date" (Bold text on the card)
• "Guest Count" (Number)
• "Venue Name" (Text)
Sort the Kanban board automatically by "Event Date" so the soonest events are at the top.
What to Build Next
Once your CRM is running, consider these enhancements:
Email integration: Connect your email to log conversations automatically against contacts.
Automated follow-ups: Add a “days since last contact” calculation and flag contacts that need attention.
Reporting: Build a weekly summary view that shows closed deals, pipeline movement, and activity metrics.
Mobile optimization: Ask Mocha to refine the responsive layout for phone access.
Client portal: Create a stripped-down view where clients can see project status without accessing your full CRM.
Each of these is another conversation with Mocha - usually a single prompt with a specific request.
Your CRM, Your Way
In 20 minutes, you built something that would have cost $15,000 and taken months just a few years ago. Not a mockup - a real, deployed application with a database, authentication, calendar integration, and a design you actually like.
More importantly, you built something that fits how you work. Not how HubSpot thinks you should work. Not a generic template designed for enterprise sales teams. A tool that does exactly what you need - nothing more, nothing less.
That’s the shift AI app builders represent. Software is no longer something you buy and adapt to. It’s something you describe and own.
Ready to build your own?
Have questions about building with Mocha? Drop into our community or check out more tutorials on what you can build - from project management tools to client portals to internal dashboards.